PERSONALISATION IS EVERYTHING
Before you start: what you need for a stress free DIY setup
1. Pick a style theme first
Choose one clear direction: rustic, minimalist, romantic, modern, vintage, coastal, or garden. This keeps your colours and materials consistent, which is one of the biggest signals of “professional-looking” decor. Ideally this is going to mirror match or complement your overall wedding venue design!
2. Build a small test kit
Buy enough materials to make just one of each decoration first. This prevents expensive mistakes and helps you estimate time and quantities.
3. Create a simple production plan
Work backwards from your wedding date:
20 to 15 weeks before: prototypes and final supply orders
12 to 13 weeks before: batch-making sessions
10 week before: final assembly, packing, and labels
1 to 2 days before: venue-ready boxes and transport checklist
THE TOP CONTENDERS FOR DIY WEDDING DECORATIONS
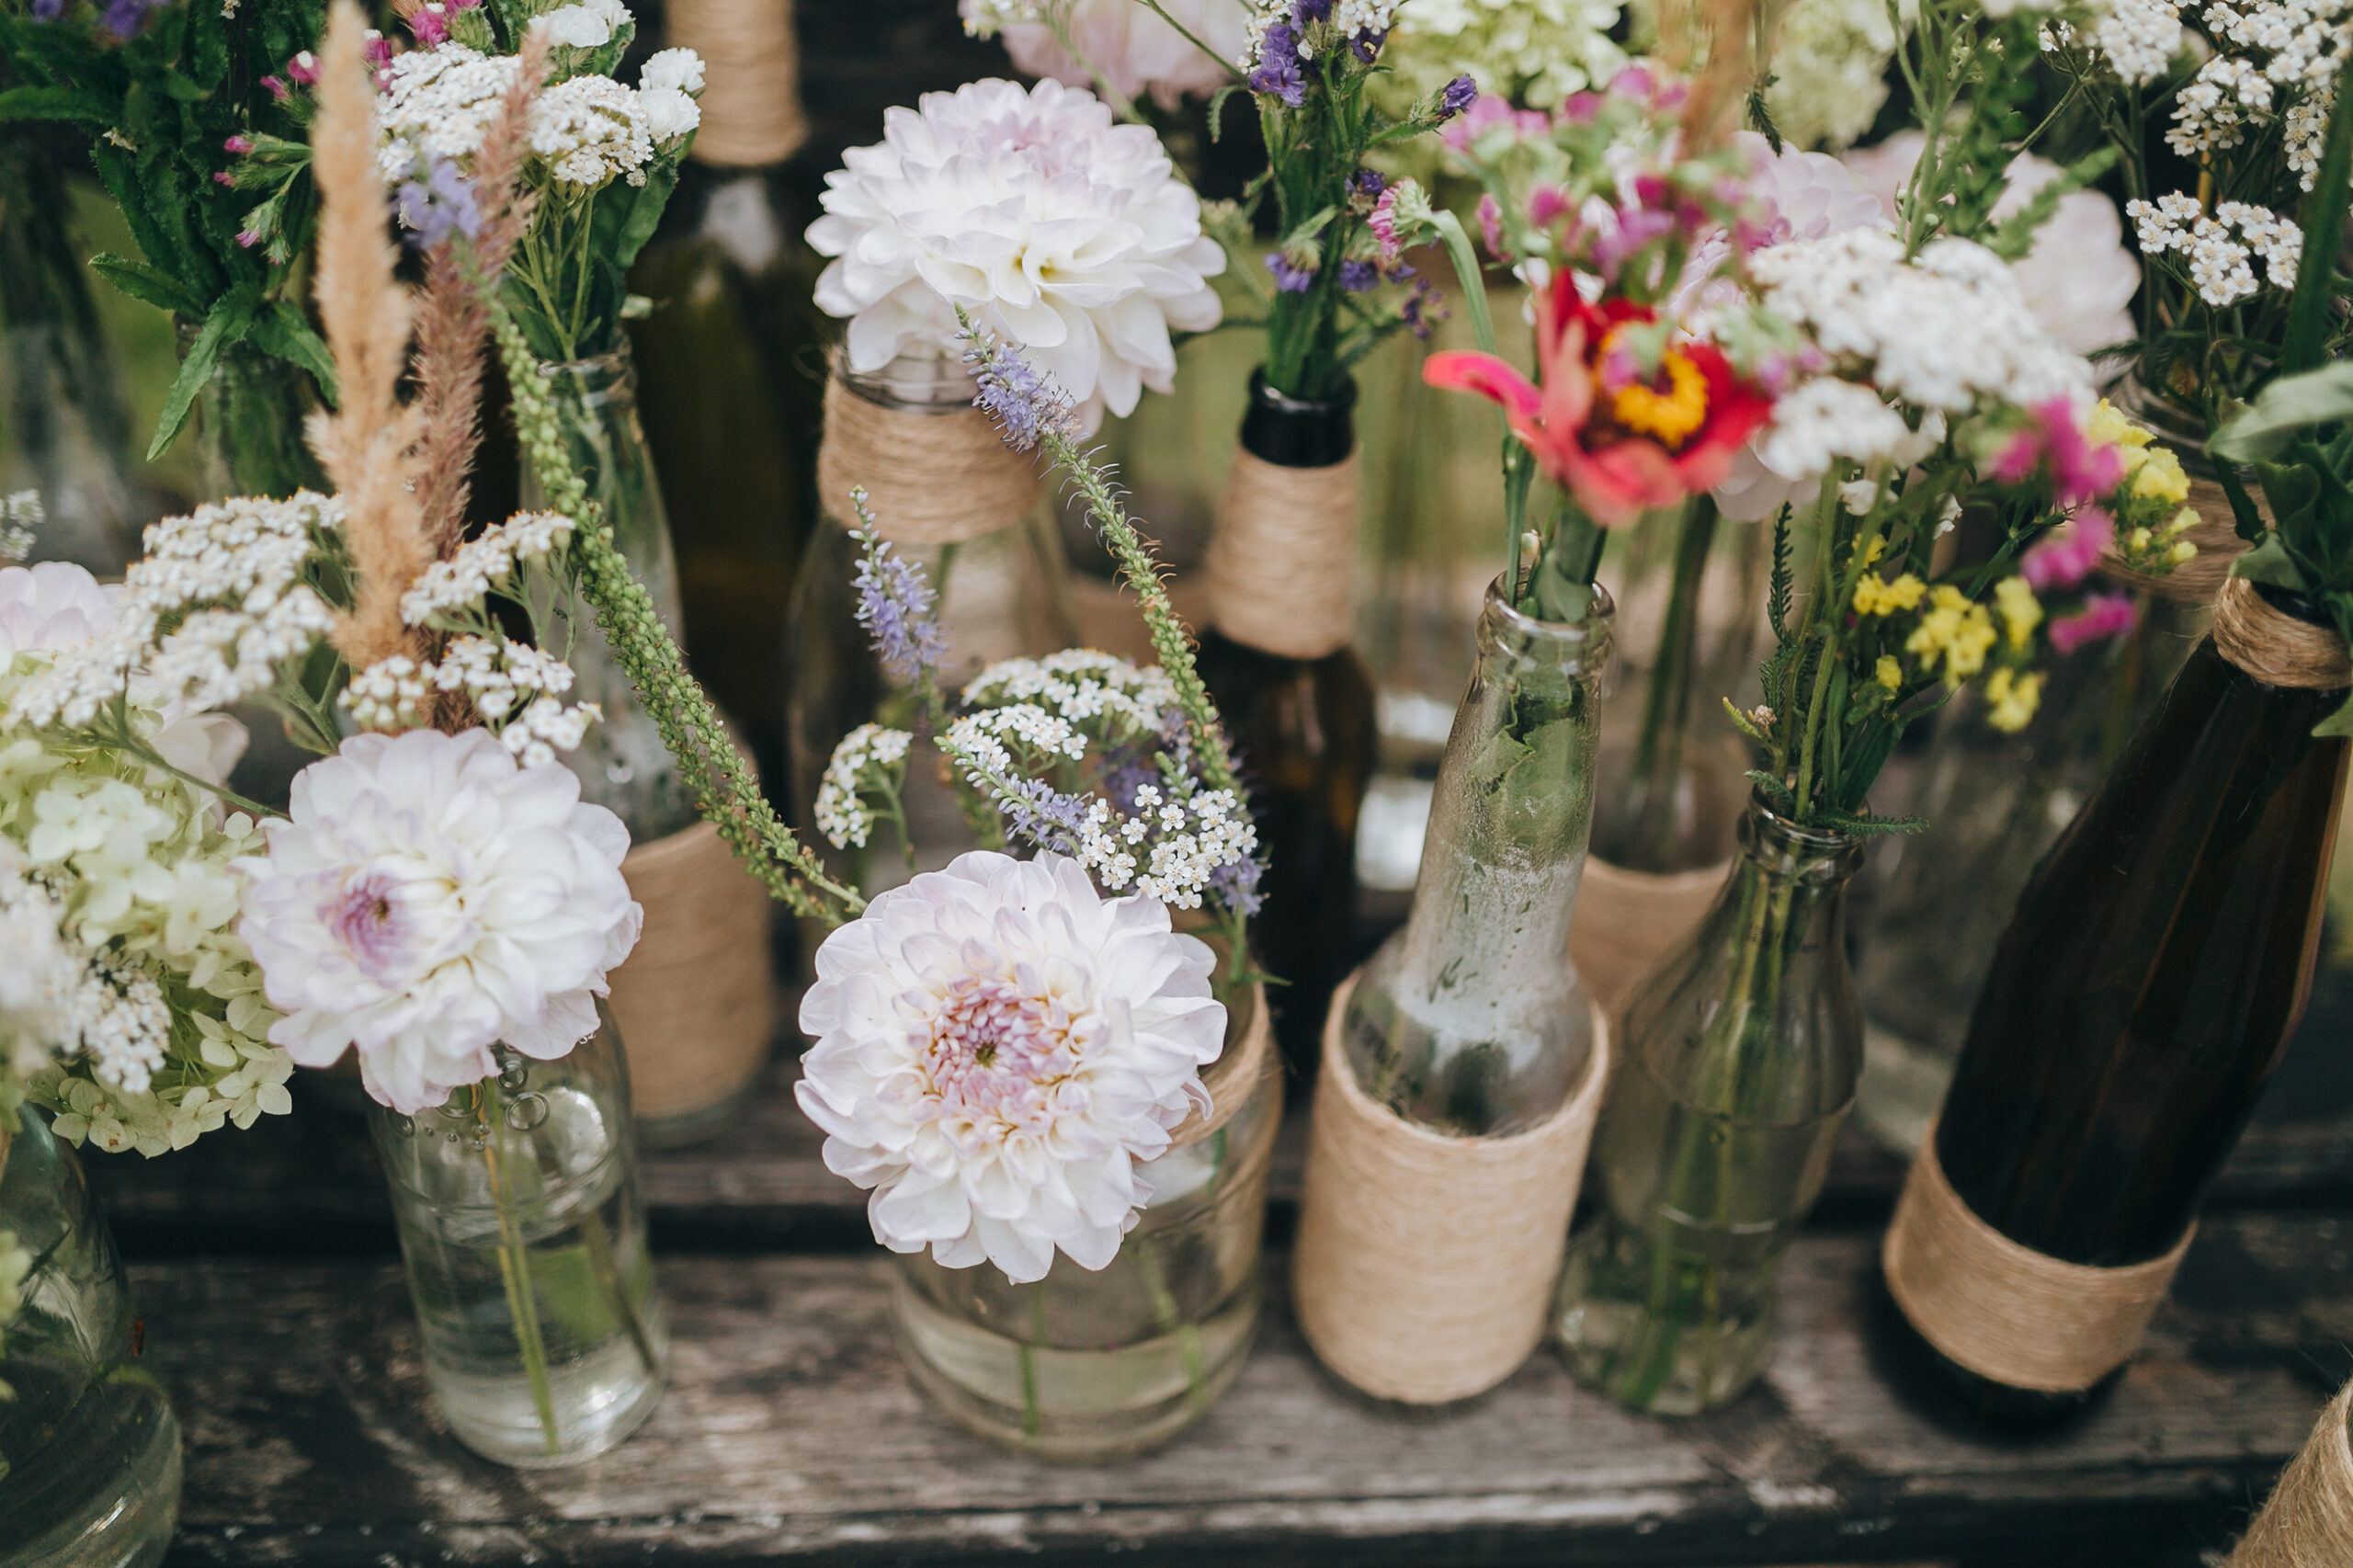
Step-by-step DIY wedding decoration 1: Elegant napkin rings with greenery and name tags
This is one of the easiest ways to make tables feel styled and intentional, without needing extra flowers on every surface.
You will need
Plain napkins (linen look works beautifully)
Craft twine, thin ribbon, or jute
Small sprigs of dried flowers or faux greenery
Small name tags or card stock
Scissors and a pen or metallic marker

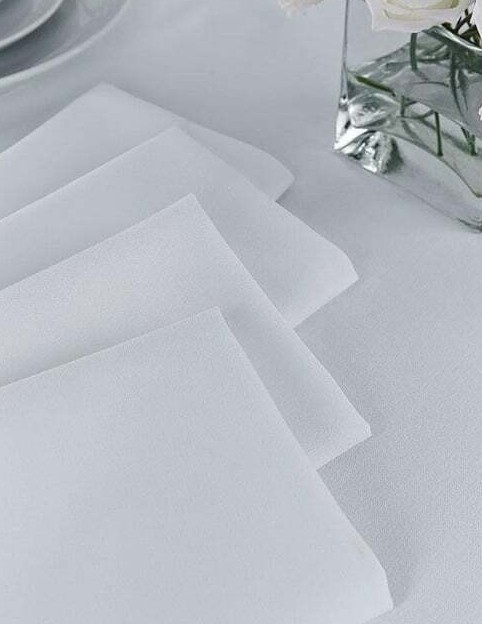
wHAT THE FINISHED PRODUCT CAN LOOK LIKE
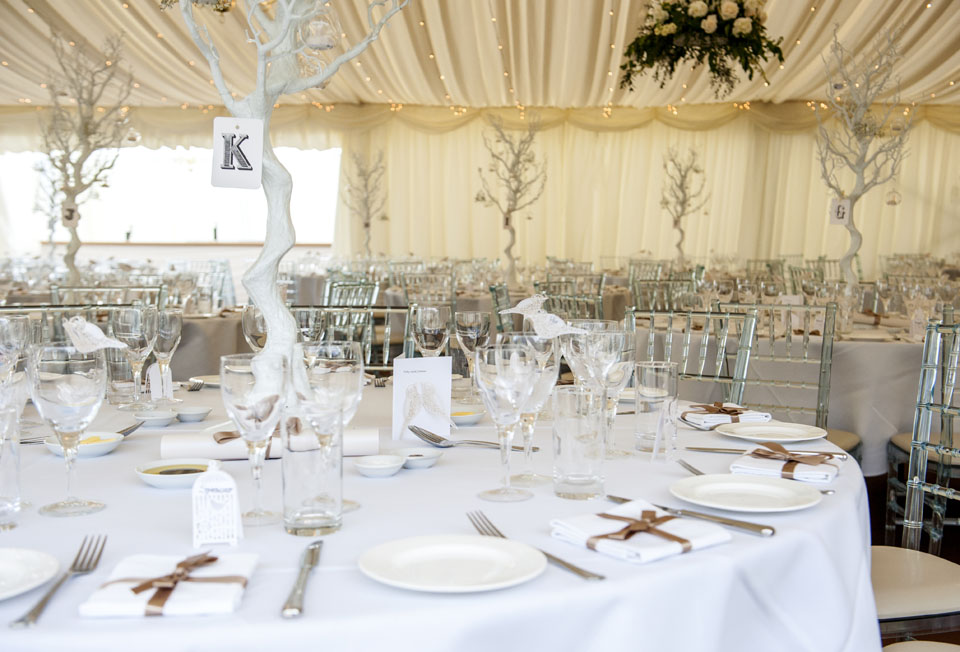
One of the most memorable DIY wedding decoration ideas we saw in 2025 was beautifully simple, yet incredibly effective. The bride chose to have the set menu printed for each guest, transforming a practical element of the day into a refined design feature. Each menu was gently wrapped with a personalised name tag, secured just loosely enough to allow sprigs of fresh herbs and delicate foliage to be tucked underneath.
The menu immediately answered questions, the name tag removed any awkwardness around seating, and the natural greenery introduced texture, scent, and softness to the table.
What made this idea particularly elegant was its restraint. No excess decoration, no clutter, just beautifully layered details working together. The herbs echoed the wedding’s seasonal theme, the typography tied seamlessly into the stationery suite, and the wrapping added a sense of ceremony all hand crafted by the bride.
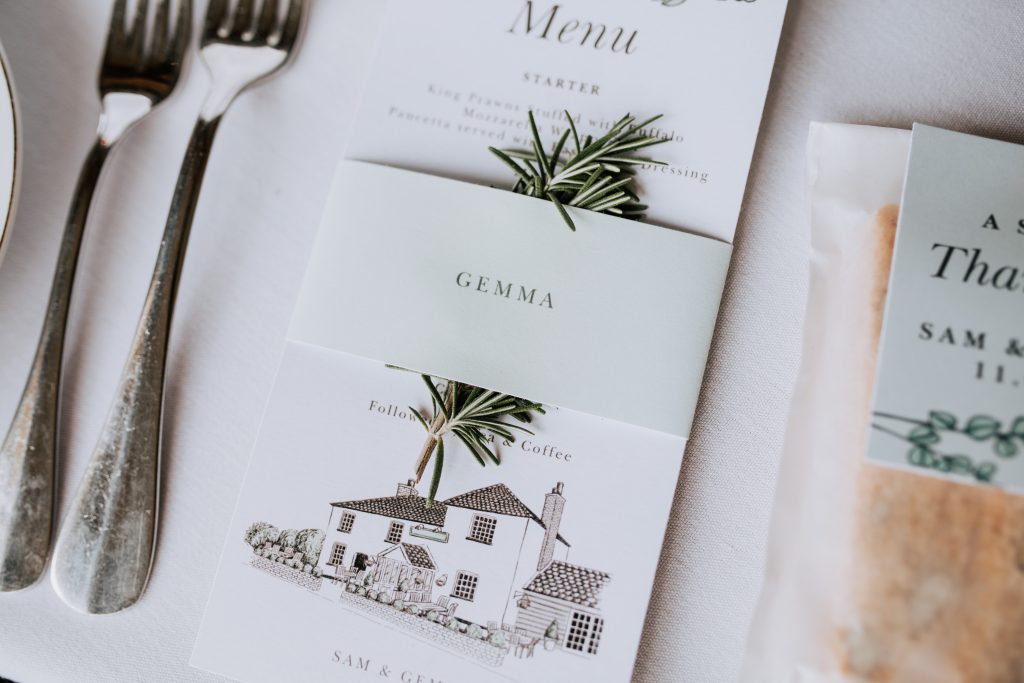
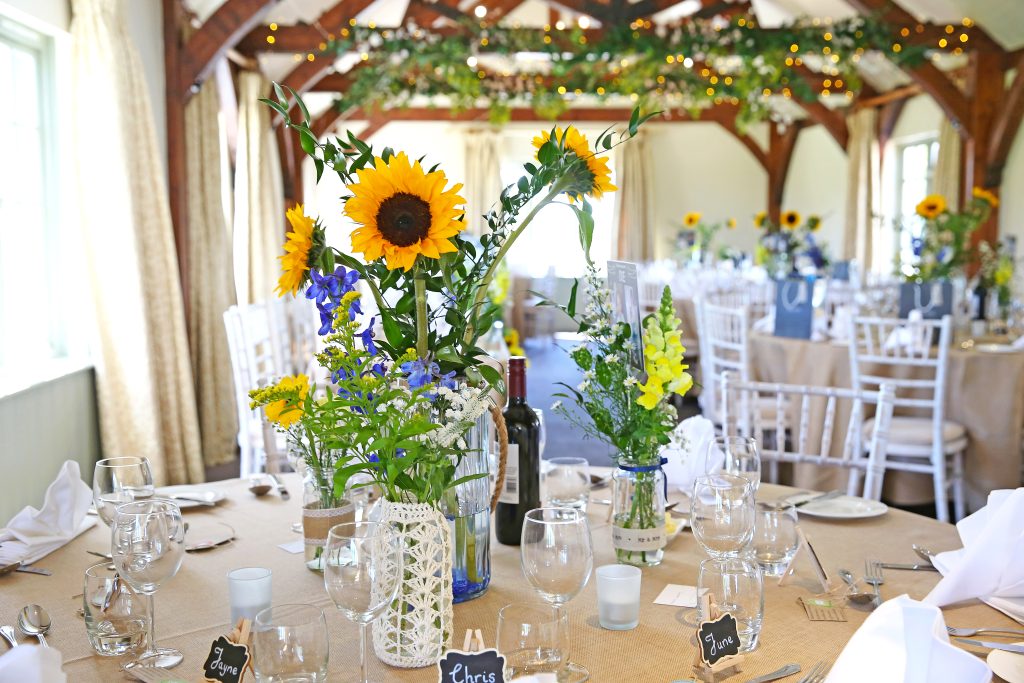
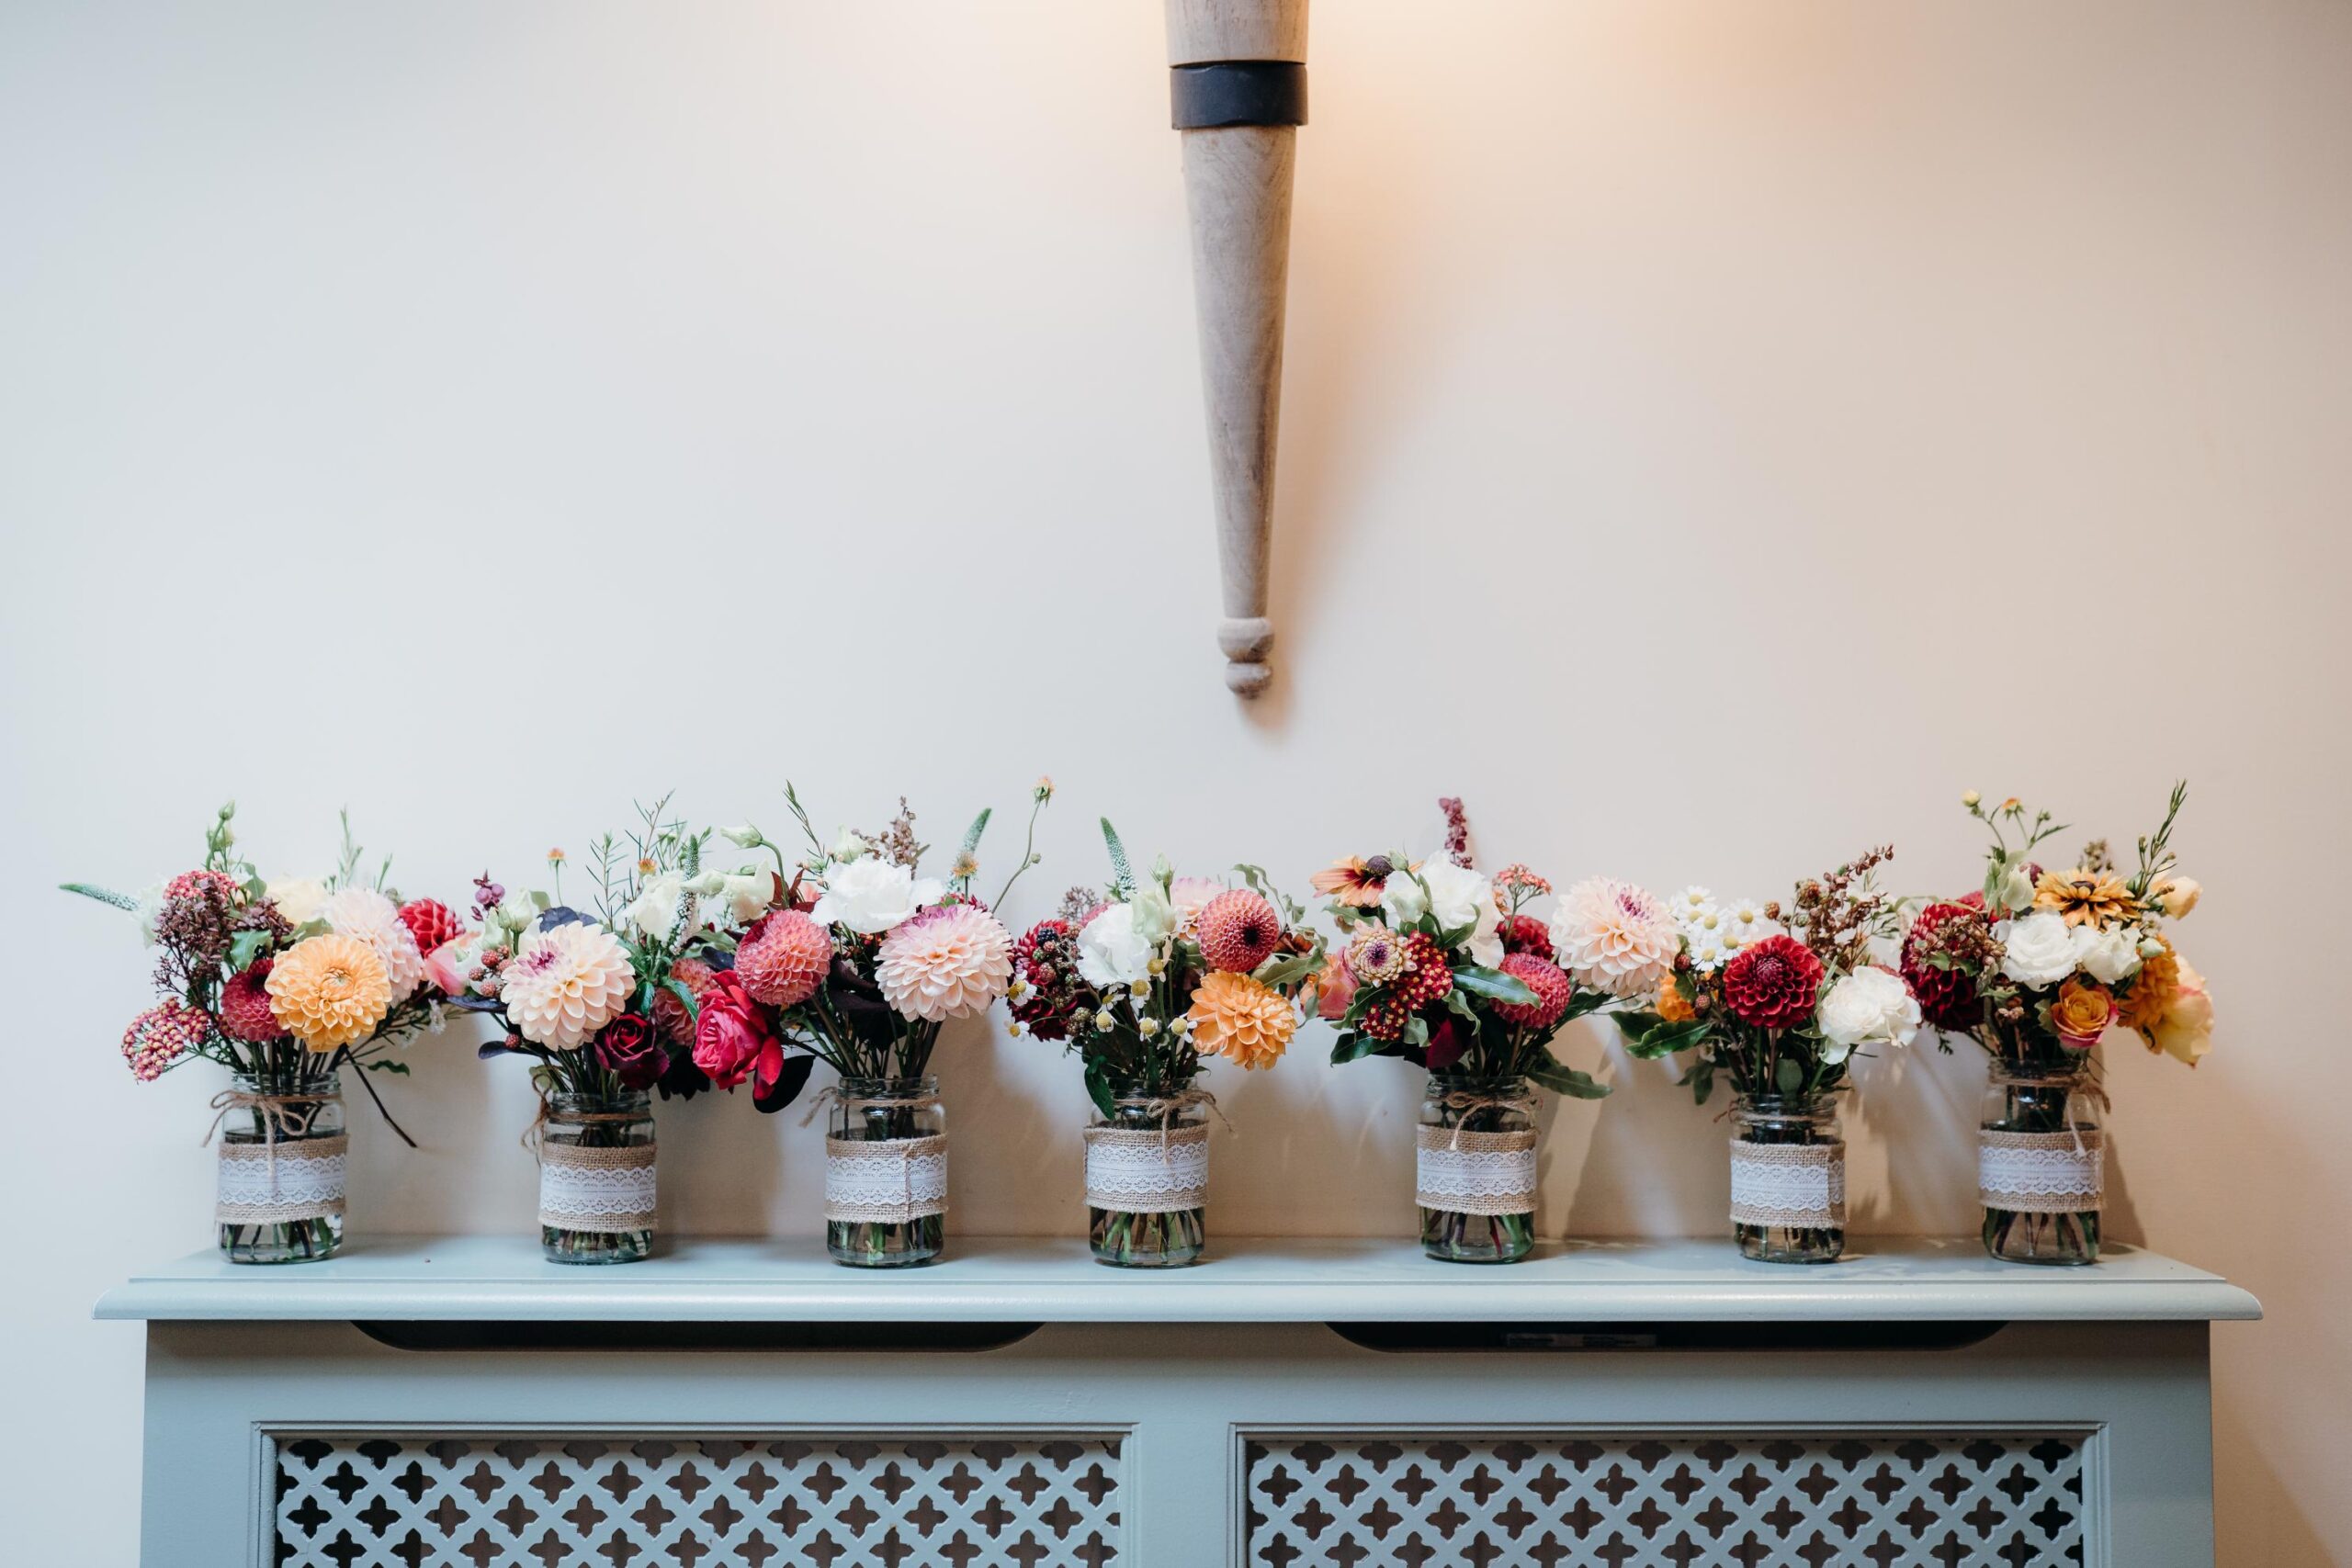
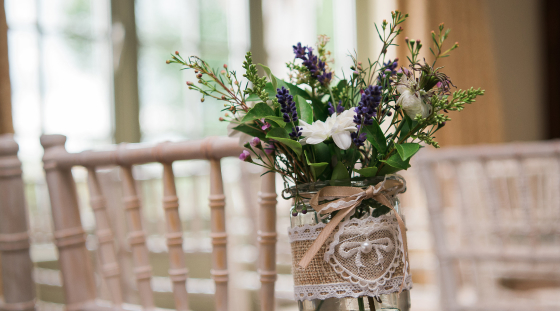
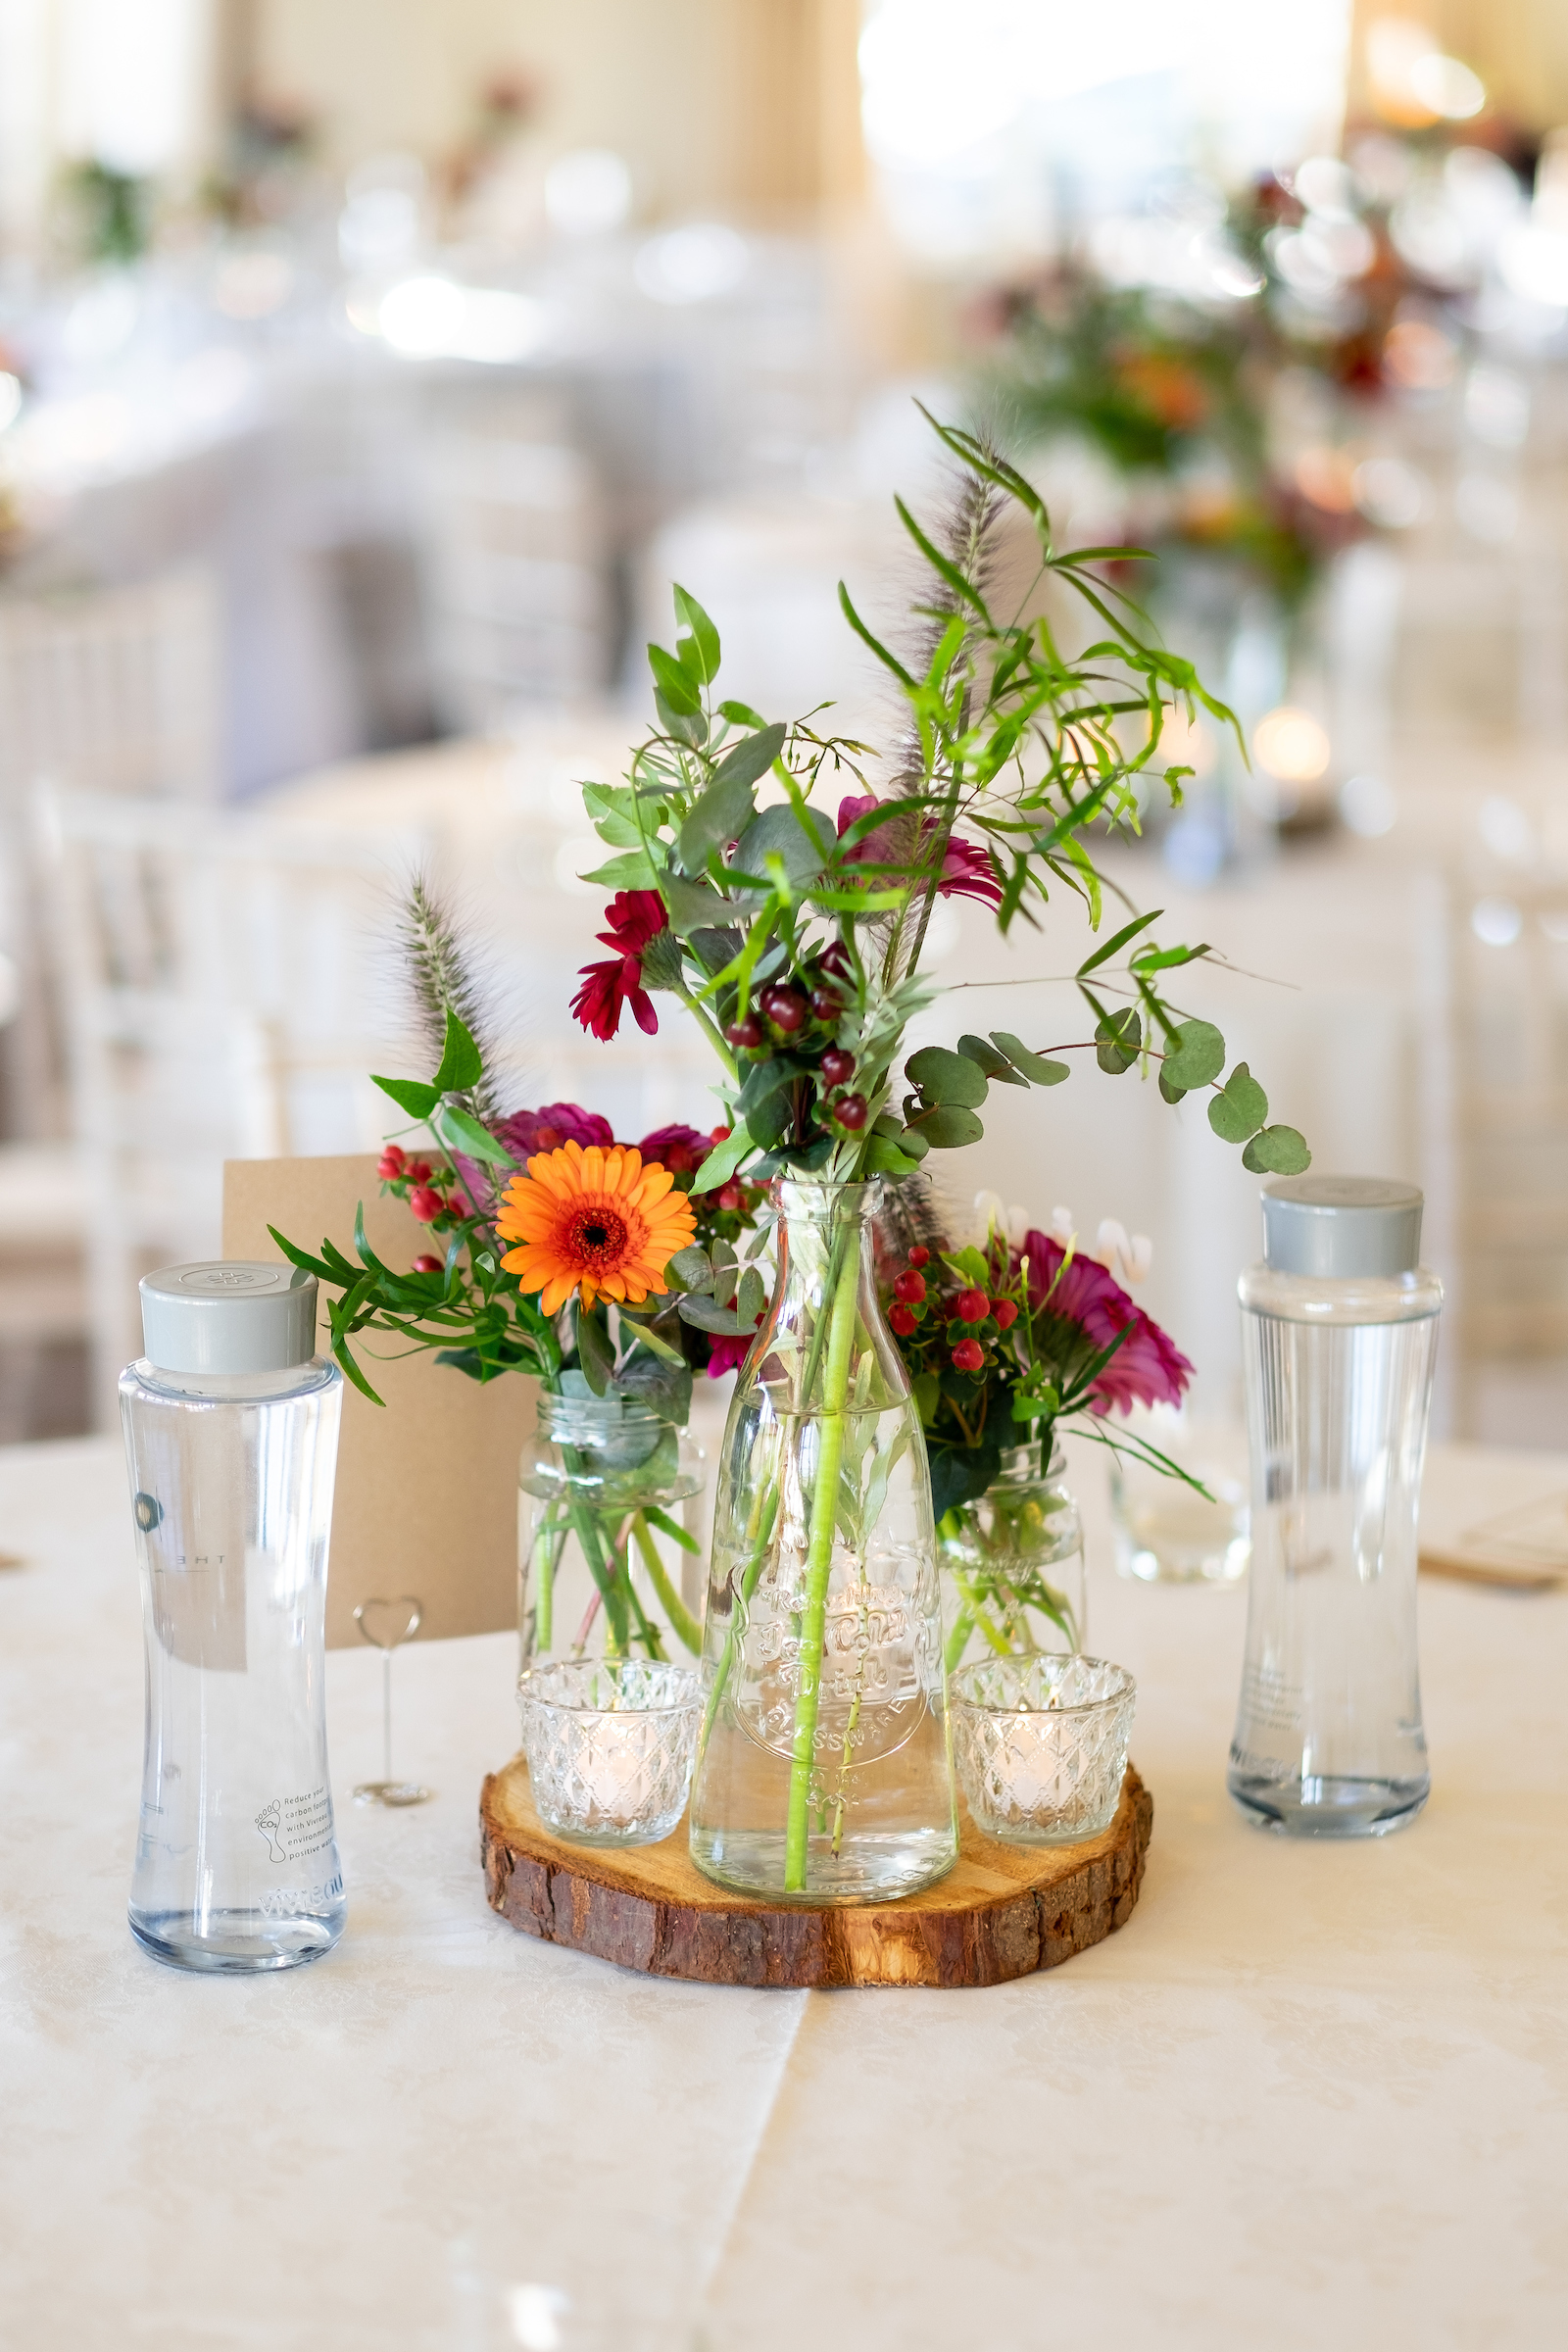
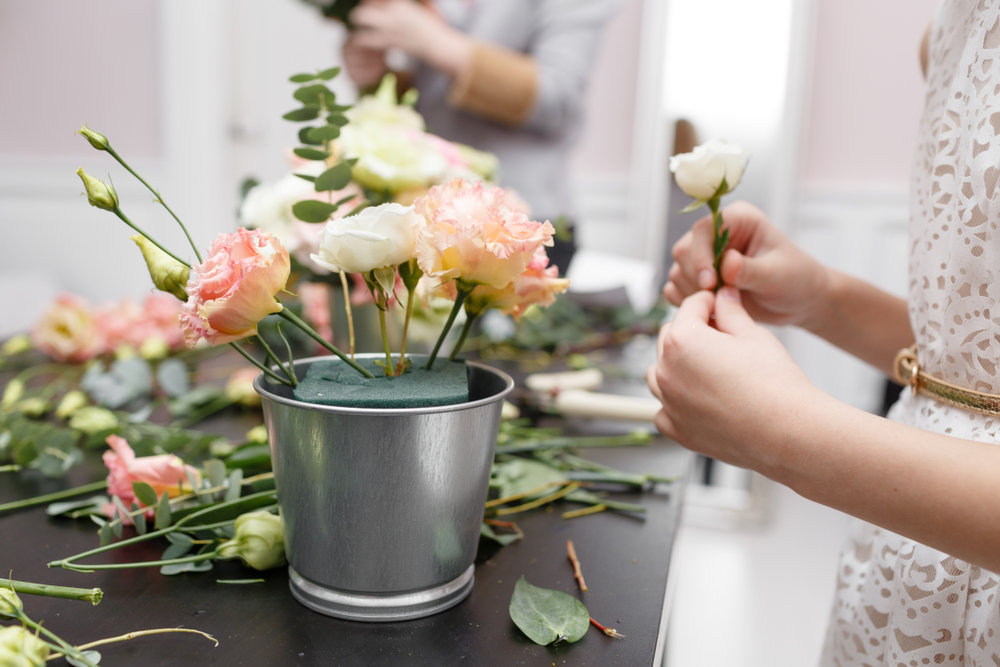
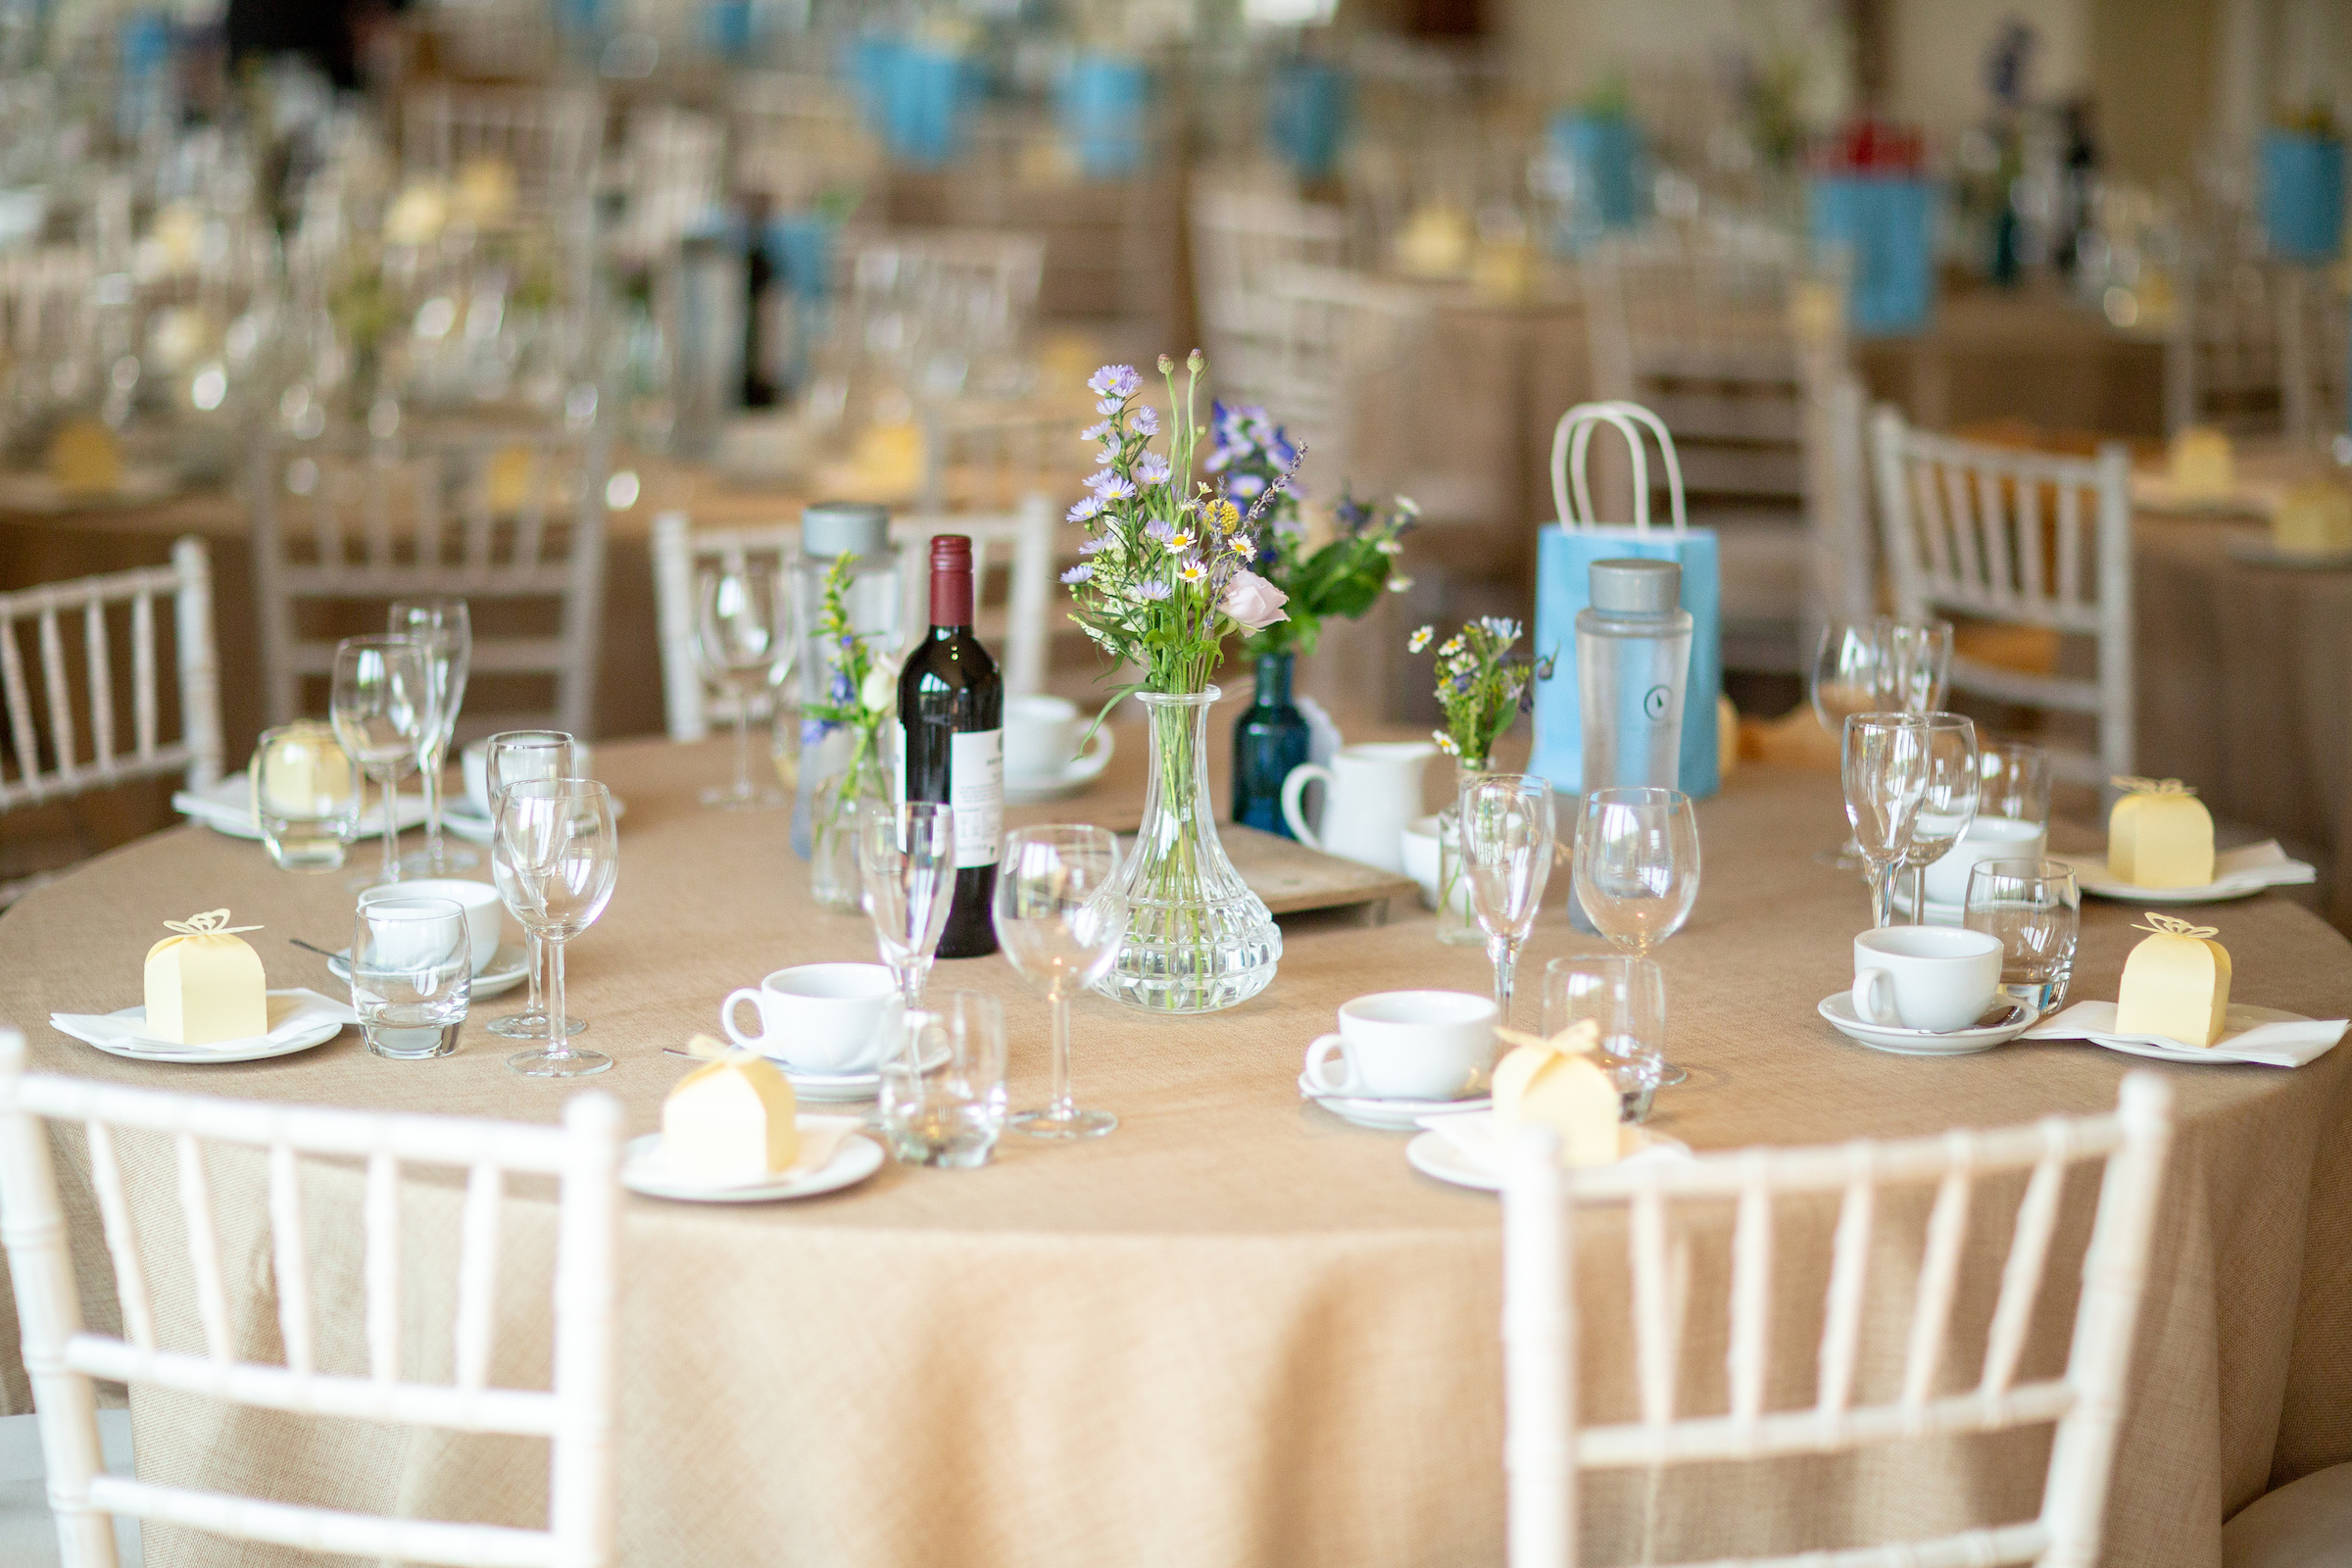
Step by step DIY wedding decoration 2: A candle and flower table centrepiece that looks professionally styled
Centerpieces do not need to be huge. In fact, lower arrangements often look more modern and feel more guest friendly because people can still chat across the table.
You will need
1 large pillar candle or 3 to 5 smaller candles
A tray, wooden slice, or mirrored base
A small vase or bud vases (optional)
Faux flowers, dried flowers, or fresh florals
Floral tape or small snips
Optional: battery tea lights for safety
wHAT THE FINISHED PRODUCT CAN LOOK LIKE
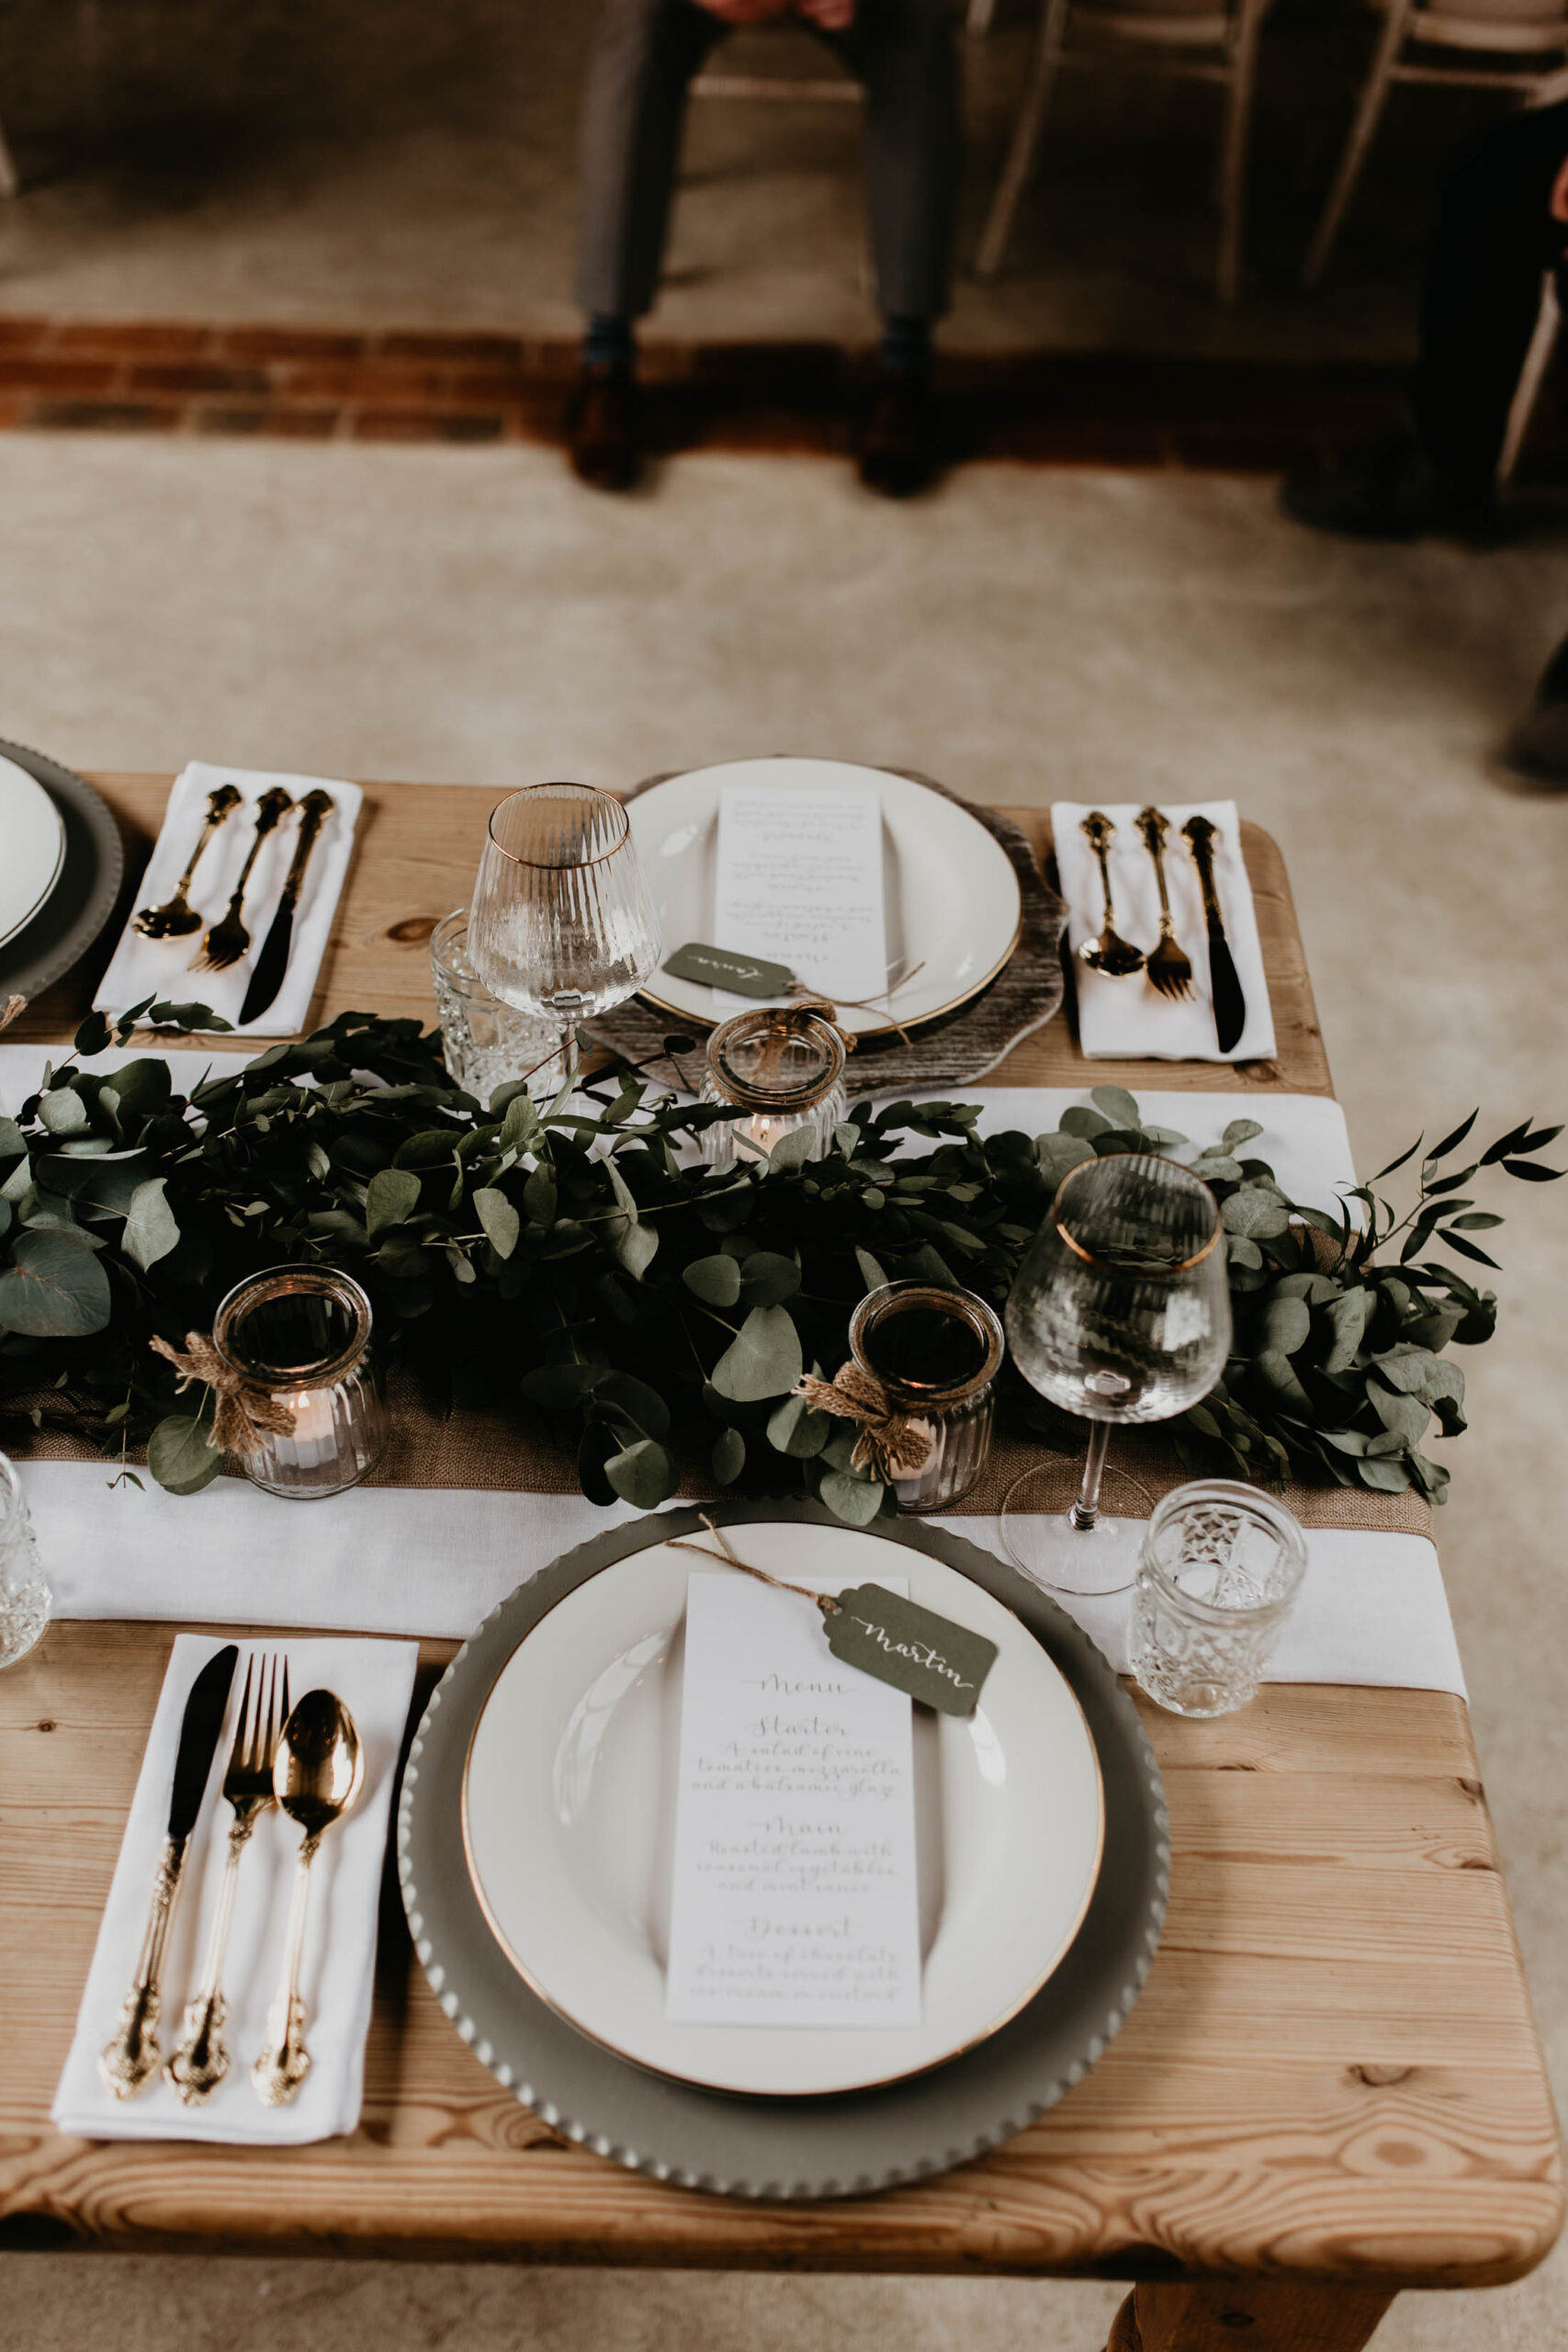
The finished candle table topper feels warm, grounded, and effortlessly elegant. A natural wooden base anchors the arrangement, immediately bringing an organic calm to the table, while soft candlelight flickers gently from varying heights, creating depth without overpowering the setting. Nestled among the candles, seasonal foliage and textured greenery weave through the centre, adding movement, richness, and a subtle connection to nature.
The lantern at the heart of the display draws the eye upward, offering a quiet focal point that feels intentional rather than imposing. Together, the elements strike a perfect balance between rustic charm and refined styling, creating a centrepiece that feels welcoming, intimate, and beautifully considered. It is the kind of DIY wedding decoration that invites guests to pause, take it in, and instantly feel part of something thoughtfully crafted.
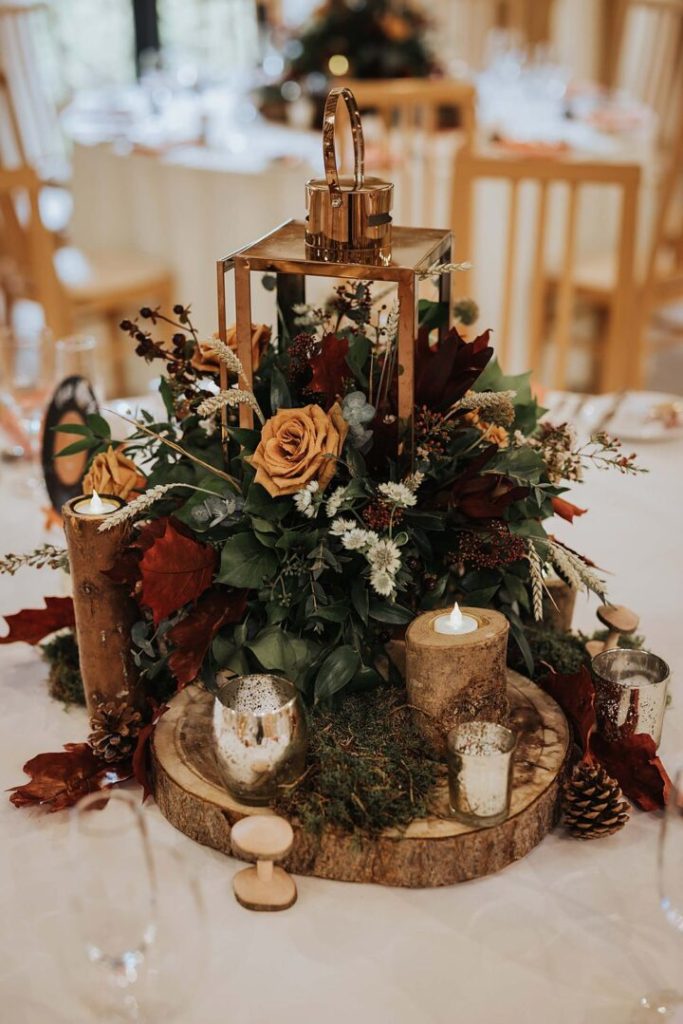
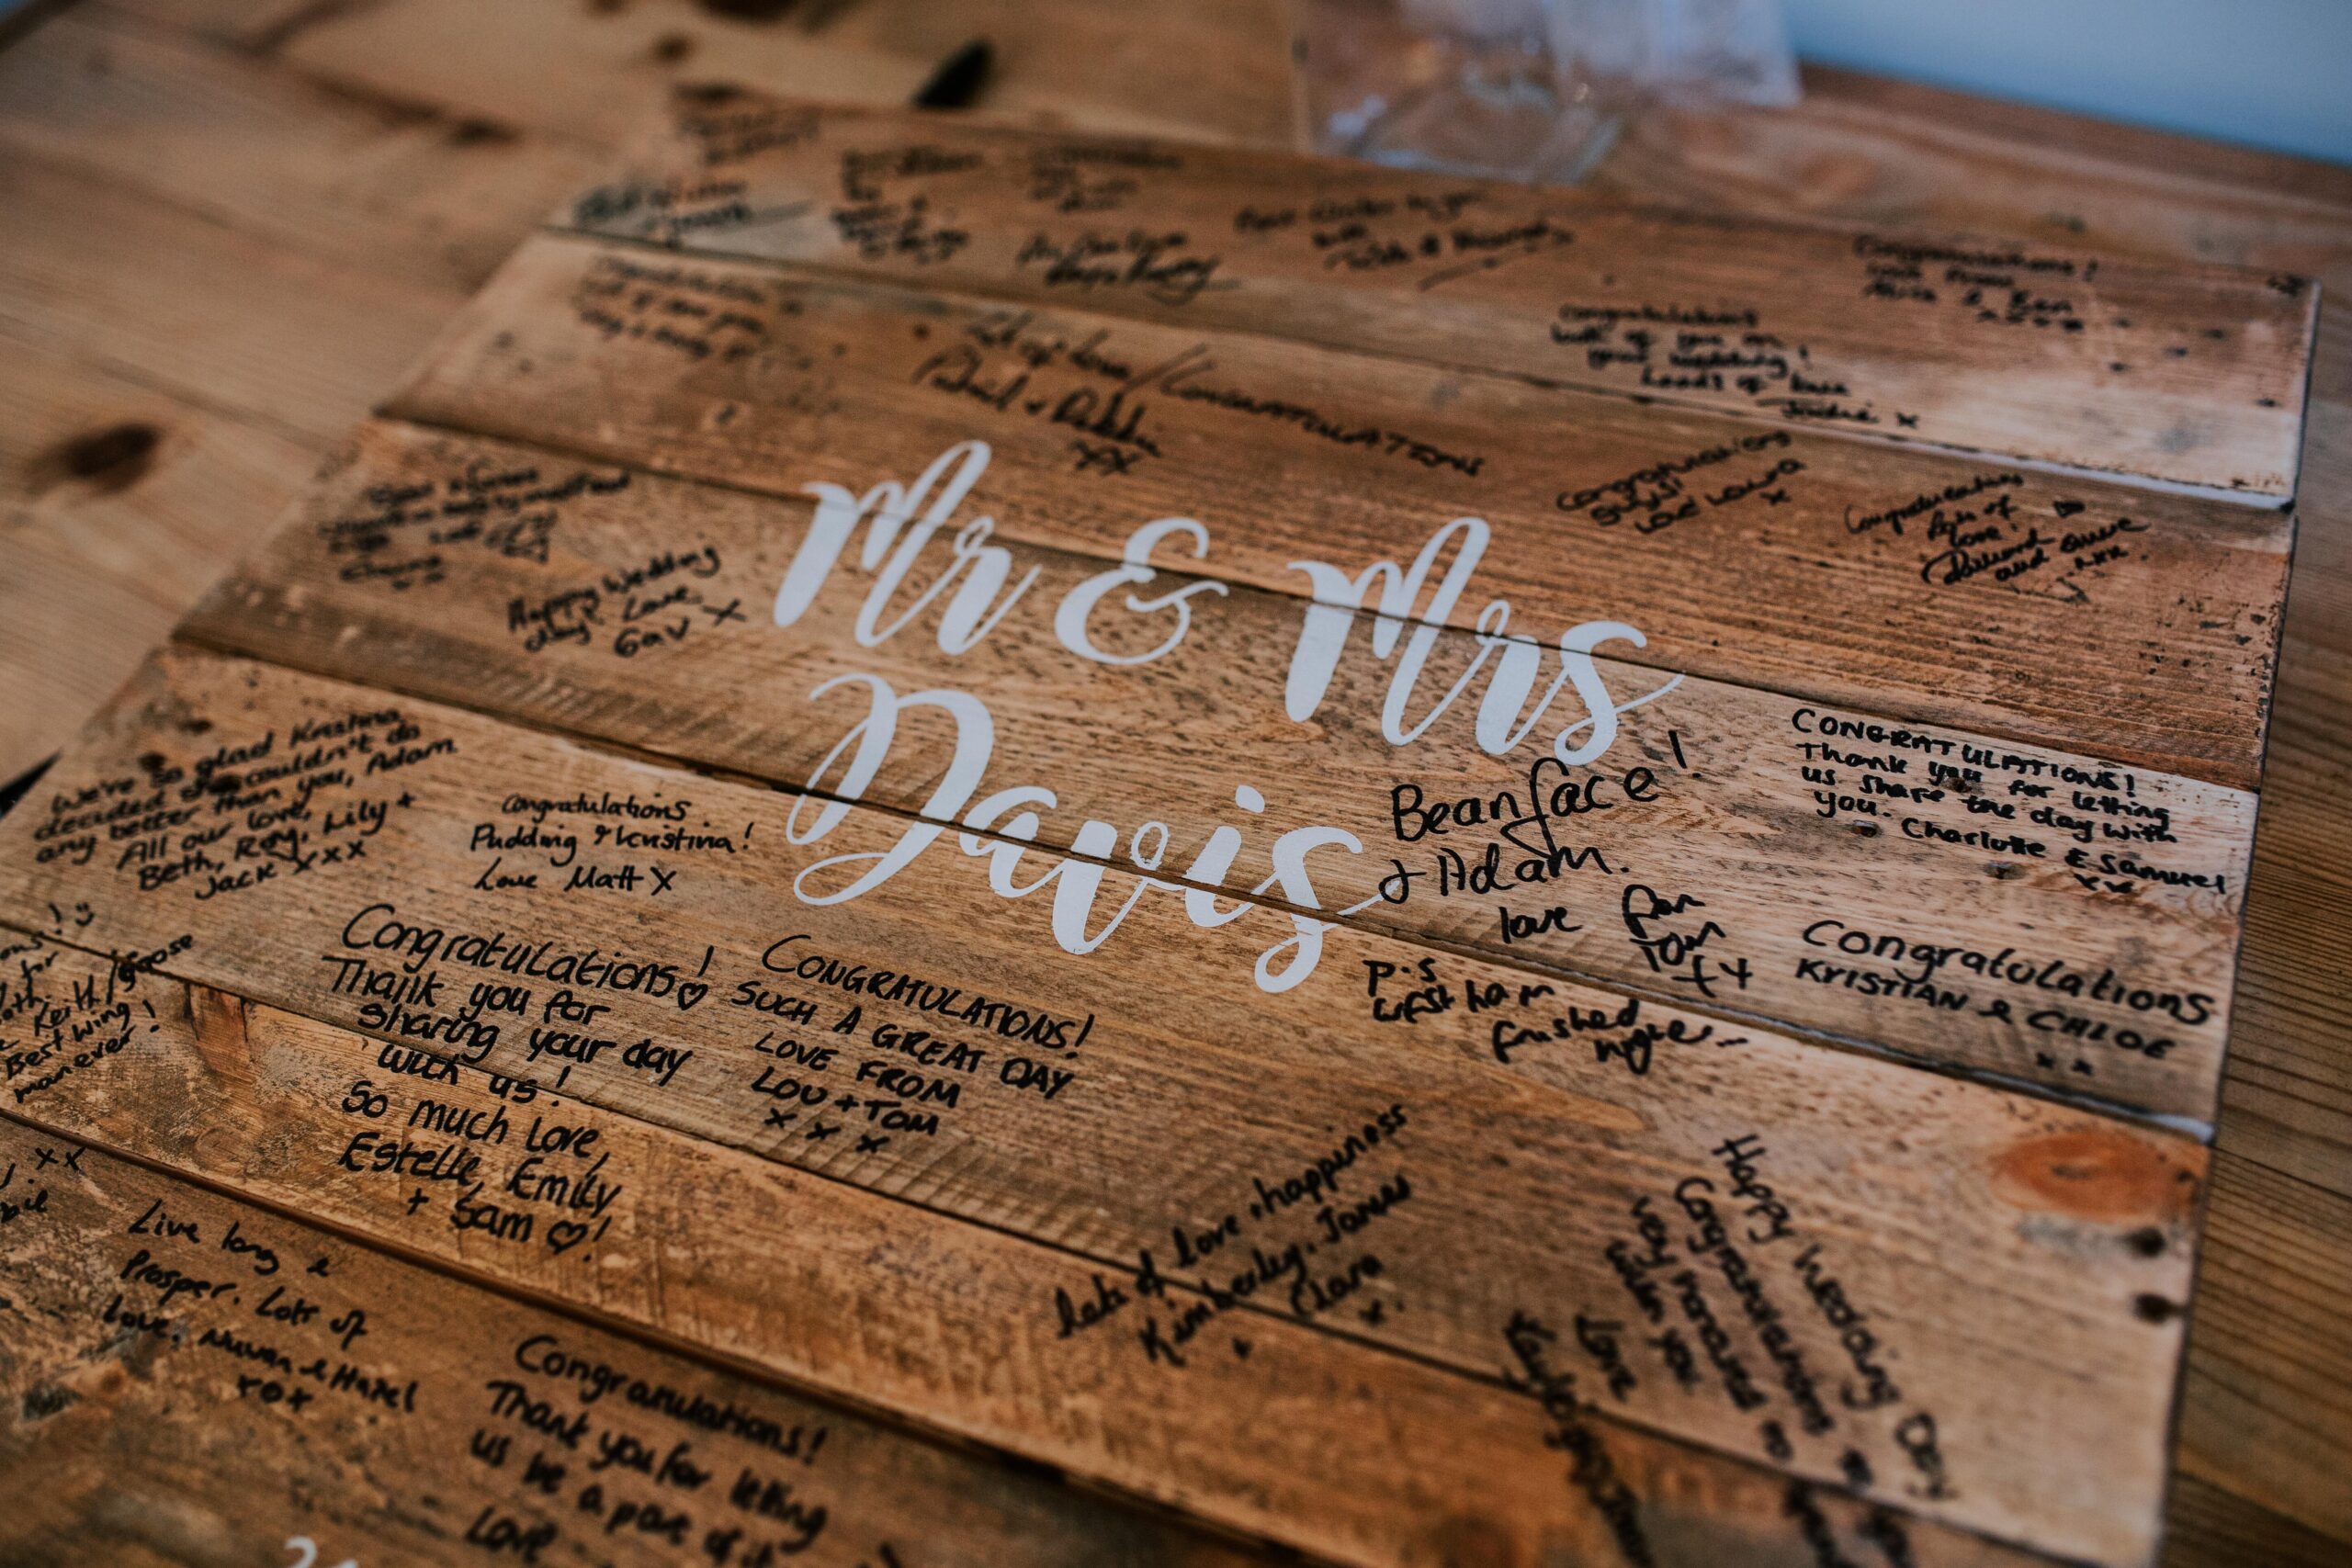
Step by step DIY wedding decoration 3: A mini cake topper keepsake with initials or a tiny message
Flower arranging can feel intimidating, but the secret is structure, not perfection. This step by step method creates a low, lush arrangement that works beautifully for guest tables, welcome areas, or even the top table, and it is designed to look abundant without needing an enormous flower budget.
You will need
Air dry clay or polymer clay
A rolling pin or smooth bottle
A small knife or clay tool
Letter stamps or a skewer for engraving
Wooden cocktail sticks or thin dowels
- Optional: gold leaf pen or acrylic paint
TIP: Make two toppers. One for the cake, one as a backup, because backups are a DIY lifesaver.
what the finished product can look like
What made this cake topper truly elegant was its restraint. Set atop a beautifully styled cheese cake (literally a cheese cake), the handmade topper felt personal without ever competing for attention. There was no excess shine, no overdecoration, just a thoughtful detail that honoured the moment. It photographed beautifully, felt entirely intentional, and later became a keepsake the couple could treasure long after the day had passed. A perfect example of how the simplest DIY wedding decorations often carry the greatest emotional weight.
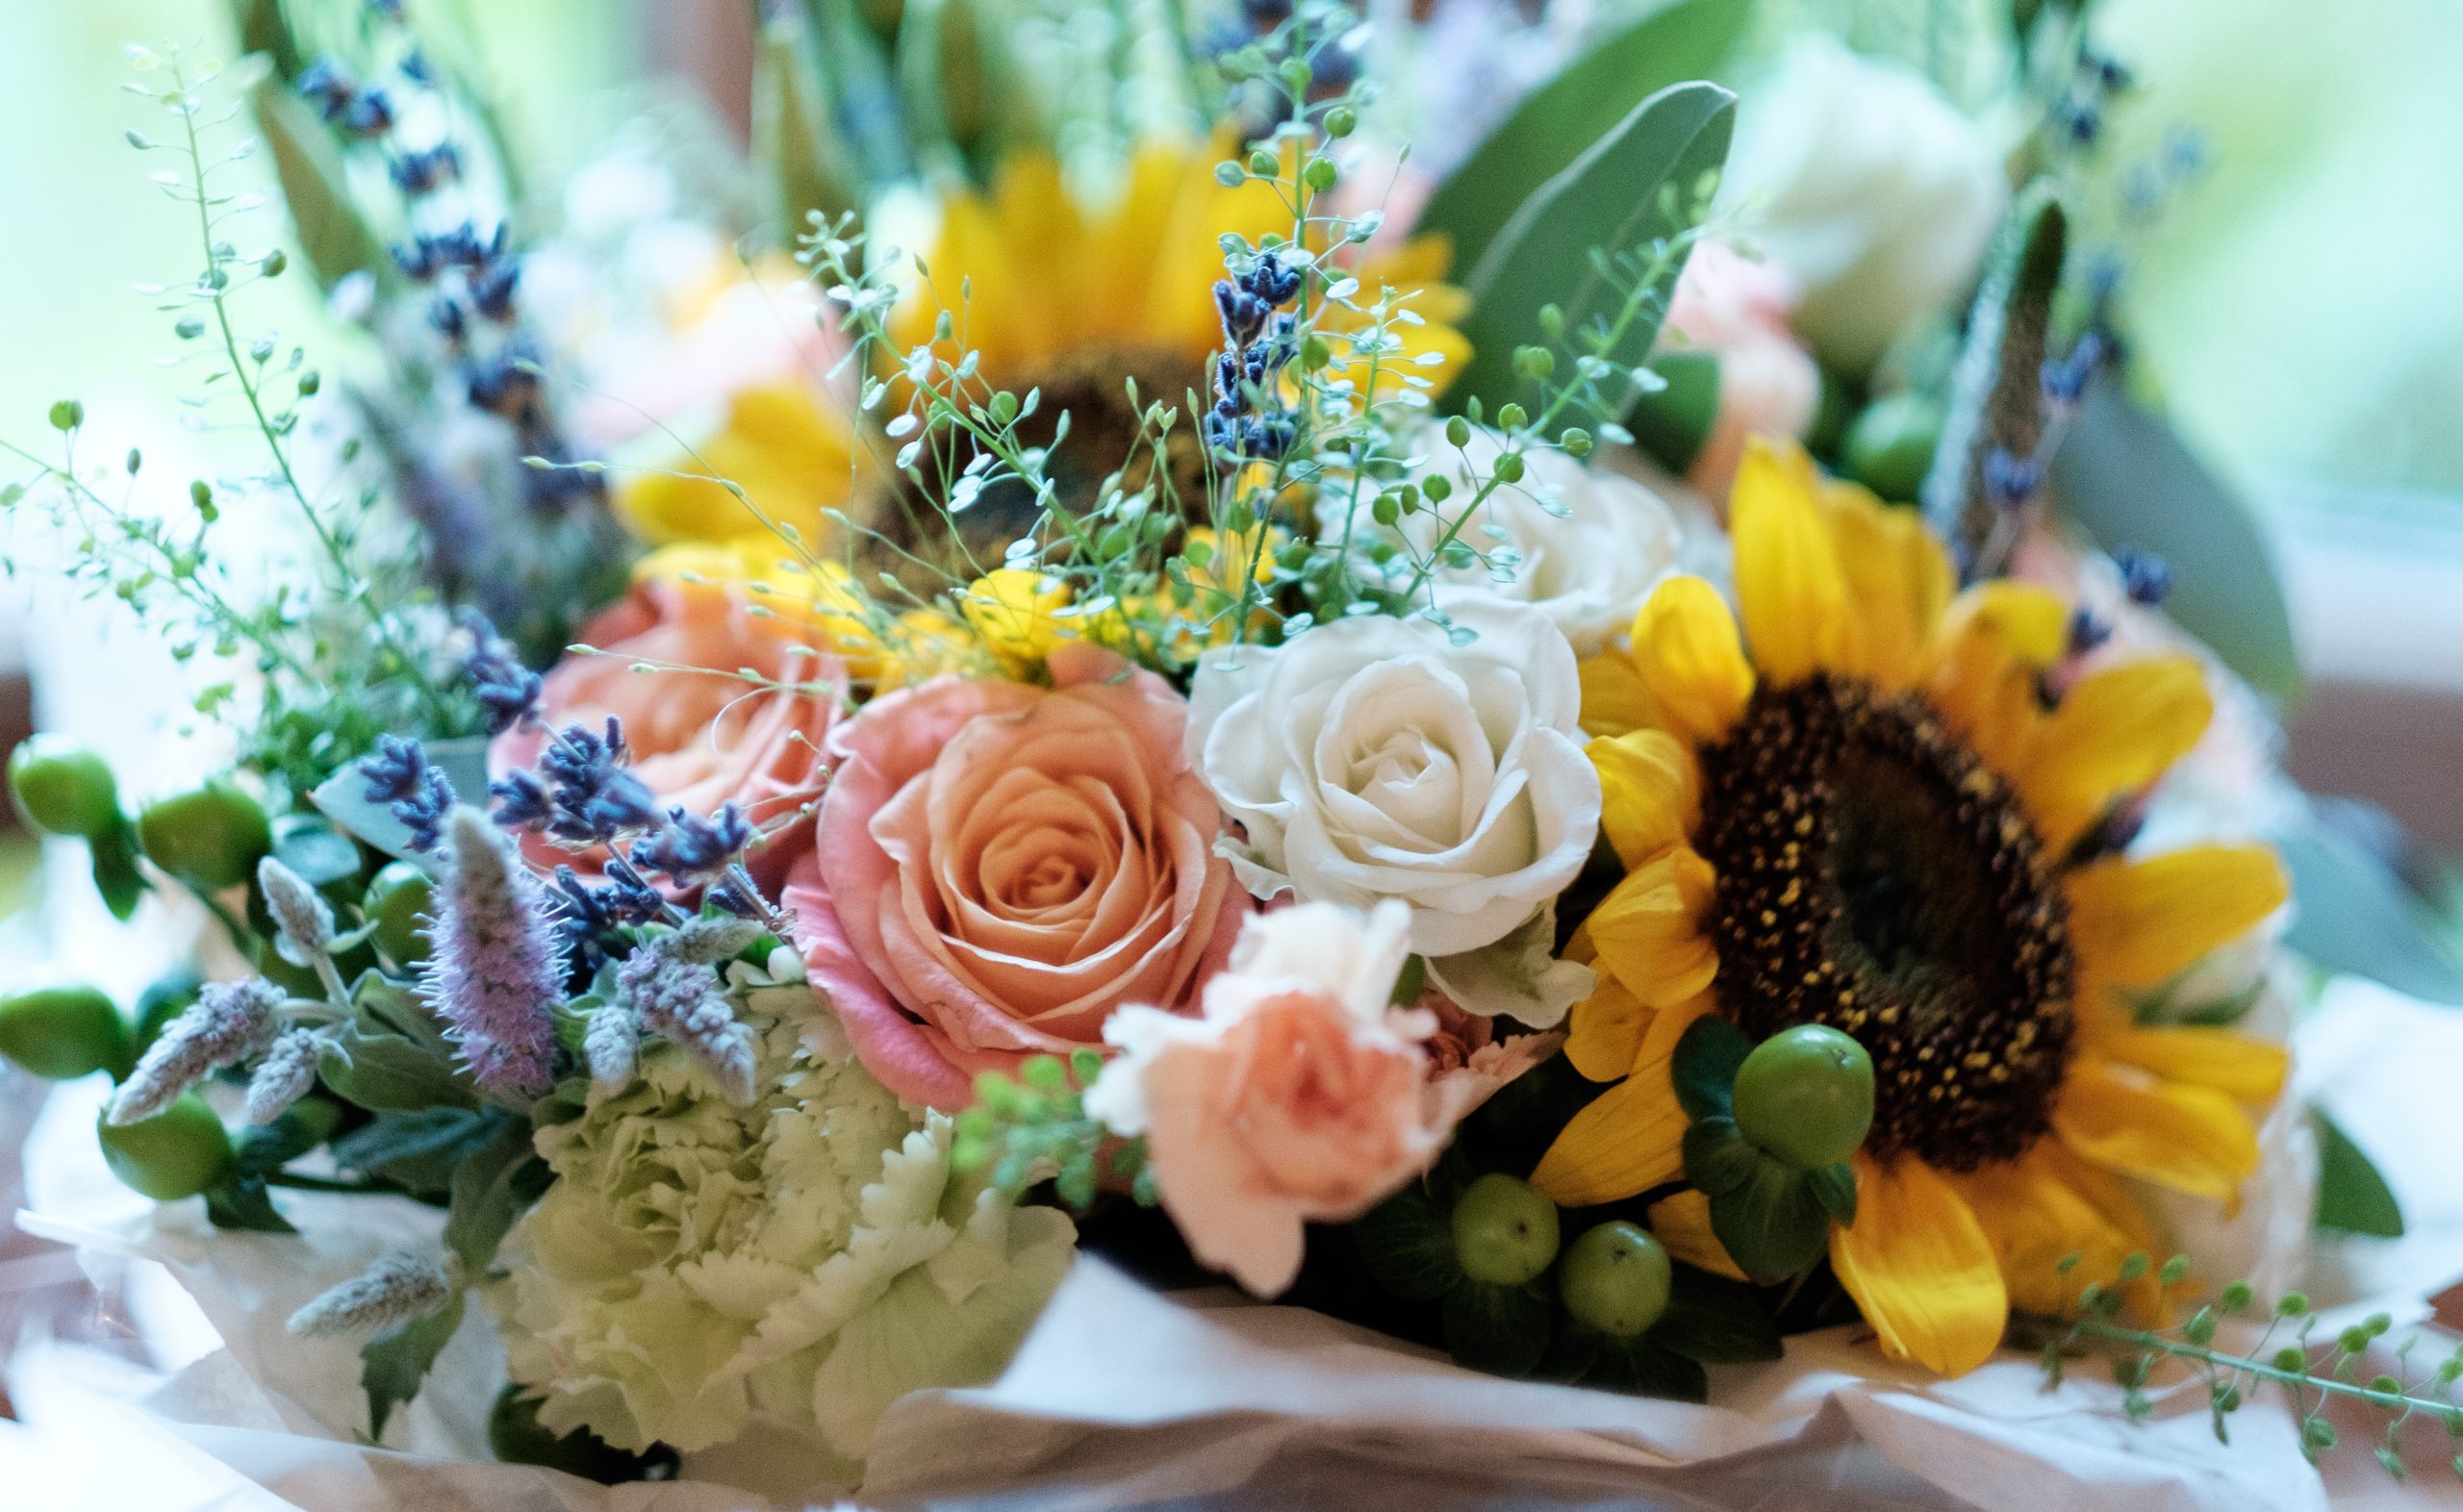
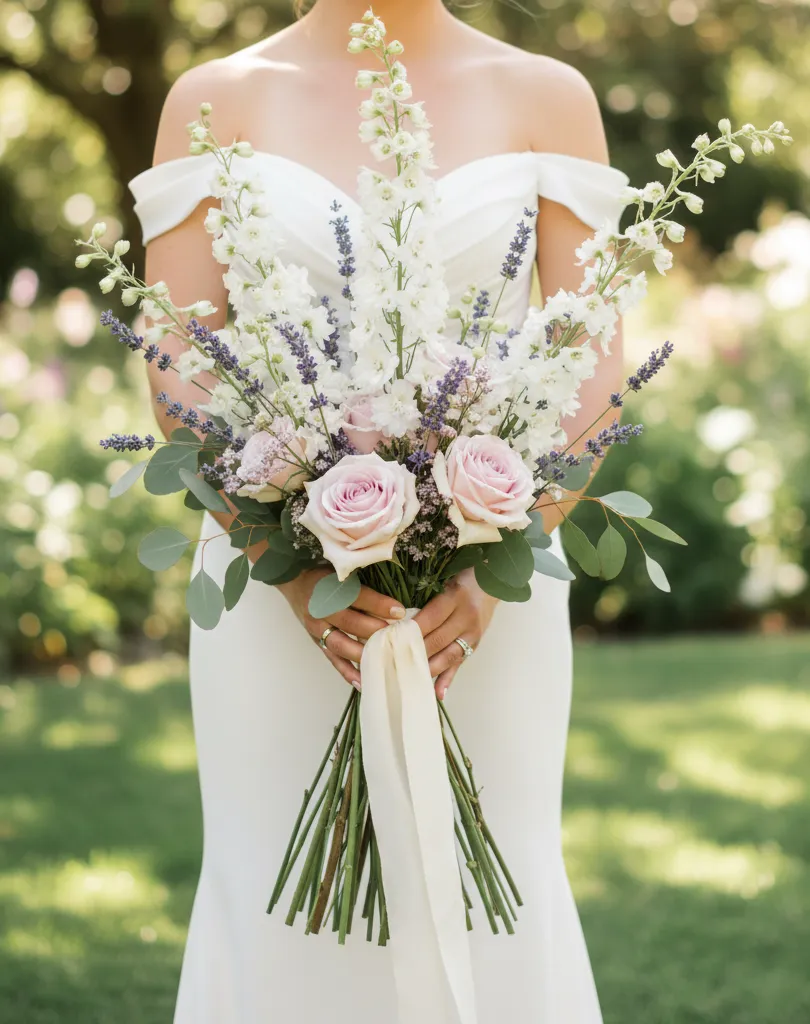
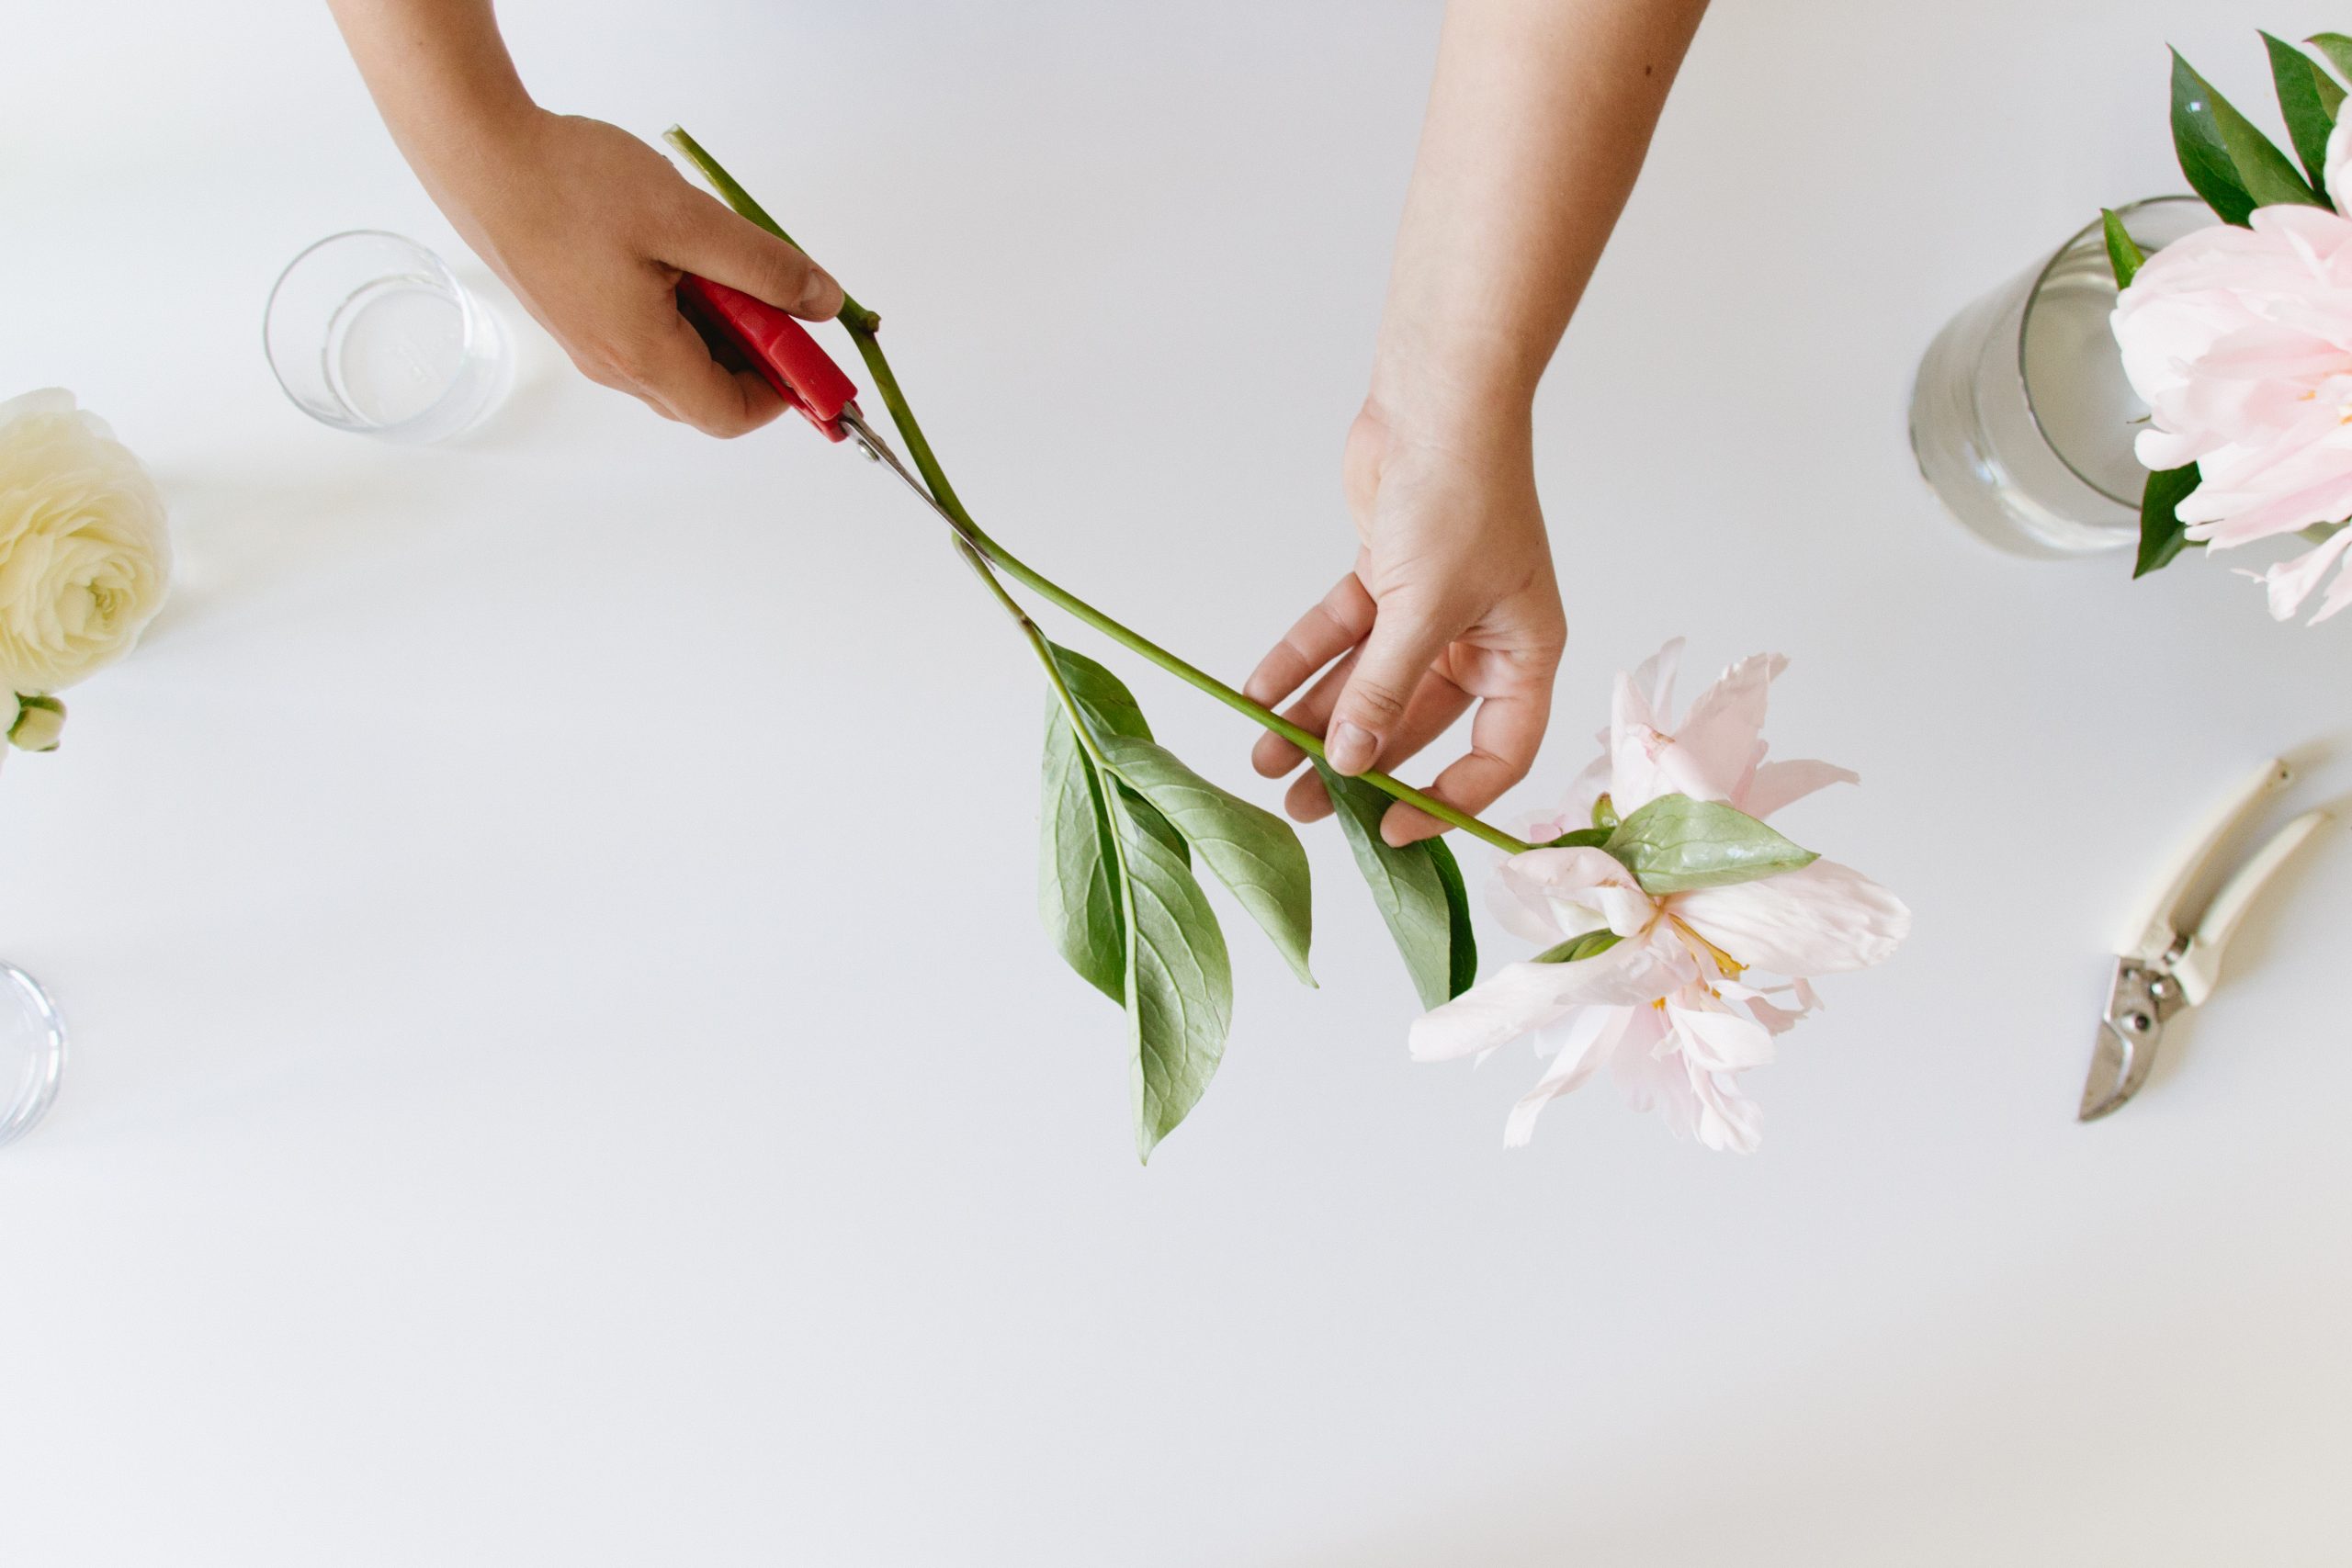
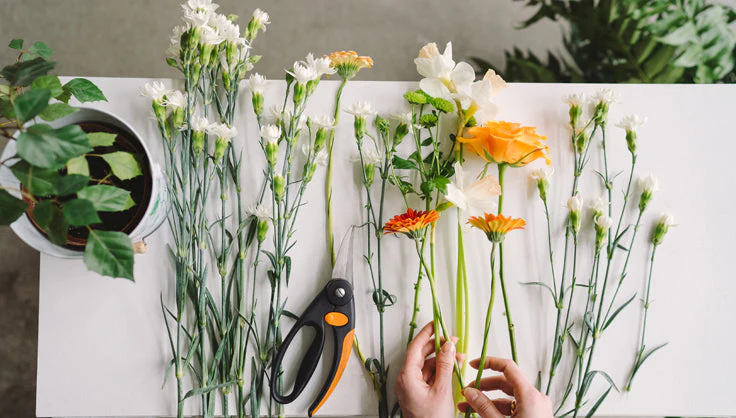
Step by step DIY wedding decoration 4: A simple flower arrangement that looks professionally styled
This is the perfect “small memento” idea: simple, photogenic, and easy to keep as a memory after the wedding.
You will need
A low bowl or compote vase (wide and stable is best)
Floral foam (wet foam for fresh flowers, dry foam for faux) or a chicken wire pillow
Florist tape (waterproof if using fresh flowers)
Flower snips or sharp scissors
A mix of flowers: one “hero” bloom, a few supporting blooms, and foliage
Example mix: roses or peonies, spray roses or carnations, eucalyptus or ruscusOptional: a few textural stems (dried grasses, berries, seed heads)
TIP: Using the same flower types and the same shape across tables is what creates a cohesive, luxury feel, even with simple blooms.
Then drop in your hero blooms next, spacing them gently rather than clustering, then weave in smaller flowers to fill the gaps, turning the bowl as you go so it looks good from every side. Finish with a light touch of texture using airy stems or berries, then step back, tweak the balance, and keep the height low enough for easy conversation. Simple, relaxed, and effortlessly polished.